


Modern 3D printers are really good at catching problems and solving them before you end up wasting filament on a ruined print. But regardless of how many sensors you shove in a printer, some problems can sneak by, and that's exactly where diagnostic prints come in handy.
These are small tests you can print out to test your printer's capability, calibrate your filament, and dial in your settings. They're not overly complicated to understand, print relatively quickly, and will tell you everything that's wrong with your printer.
First layer square
Boring on purpose, revealing by design

A large, single-layer square is one of the fastest diagnostic prints in 3D printing. It is deliberately boring: just a thin sheet spread over as much of the build plate as possible. But because every line is visible and only one layer is involved, it reveals bed cleanliness, bed mesh accuracy, gantry tramming, and especially Z-offset without the noise of the rest of a model.
A good first layer has adjacent lines that touch cleanly with a smooth, lightly textured surface. It should not have gaps between lines, ridges where the nozzle went through the plastic, or areas that peel up at the corners. And the pattern itself tells you what to fix.
Lines with gaps or a round, barely attached look mean the nozzle is too high in that area. Deep grooves, rough ridges, and an overly glossy, translucent layer mean it is too close. If the center looks right while one side does not, suspect a bad bed mesh, an untrammed gantry, or an unleveled bed. Run this test after cleaning the plate and heating the printer to a normal printing temperature; Z-offset and bed shape can change as components warm up. A first layer test should be a regular verification point, not an annual calibration ritual.
Temperature tower
The best segment is the coolest one that still works


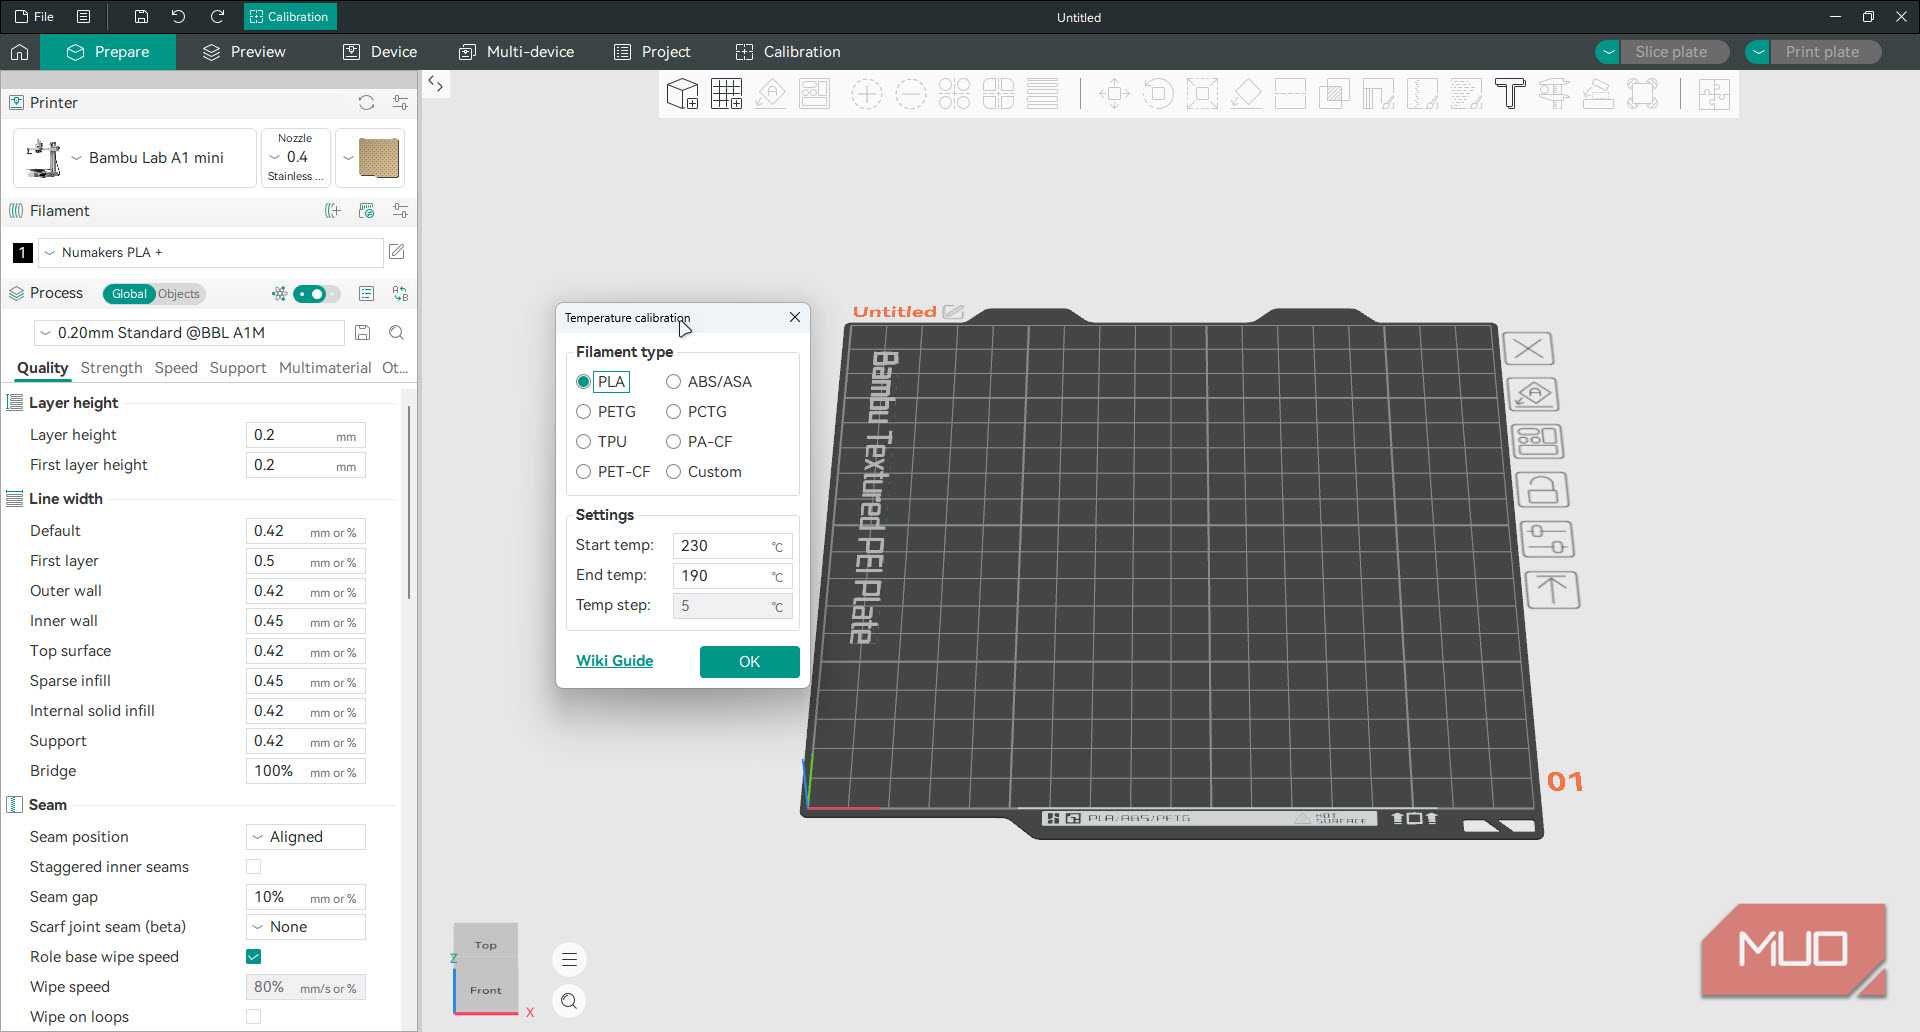
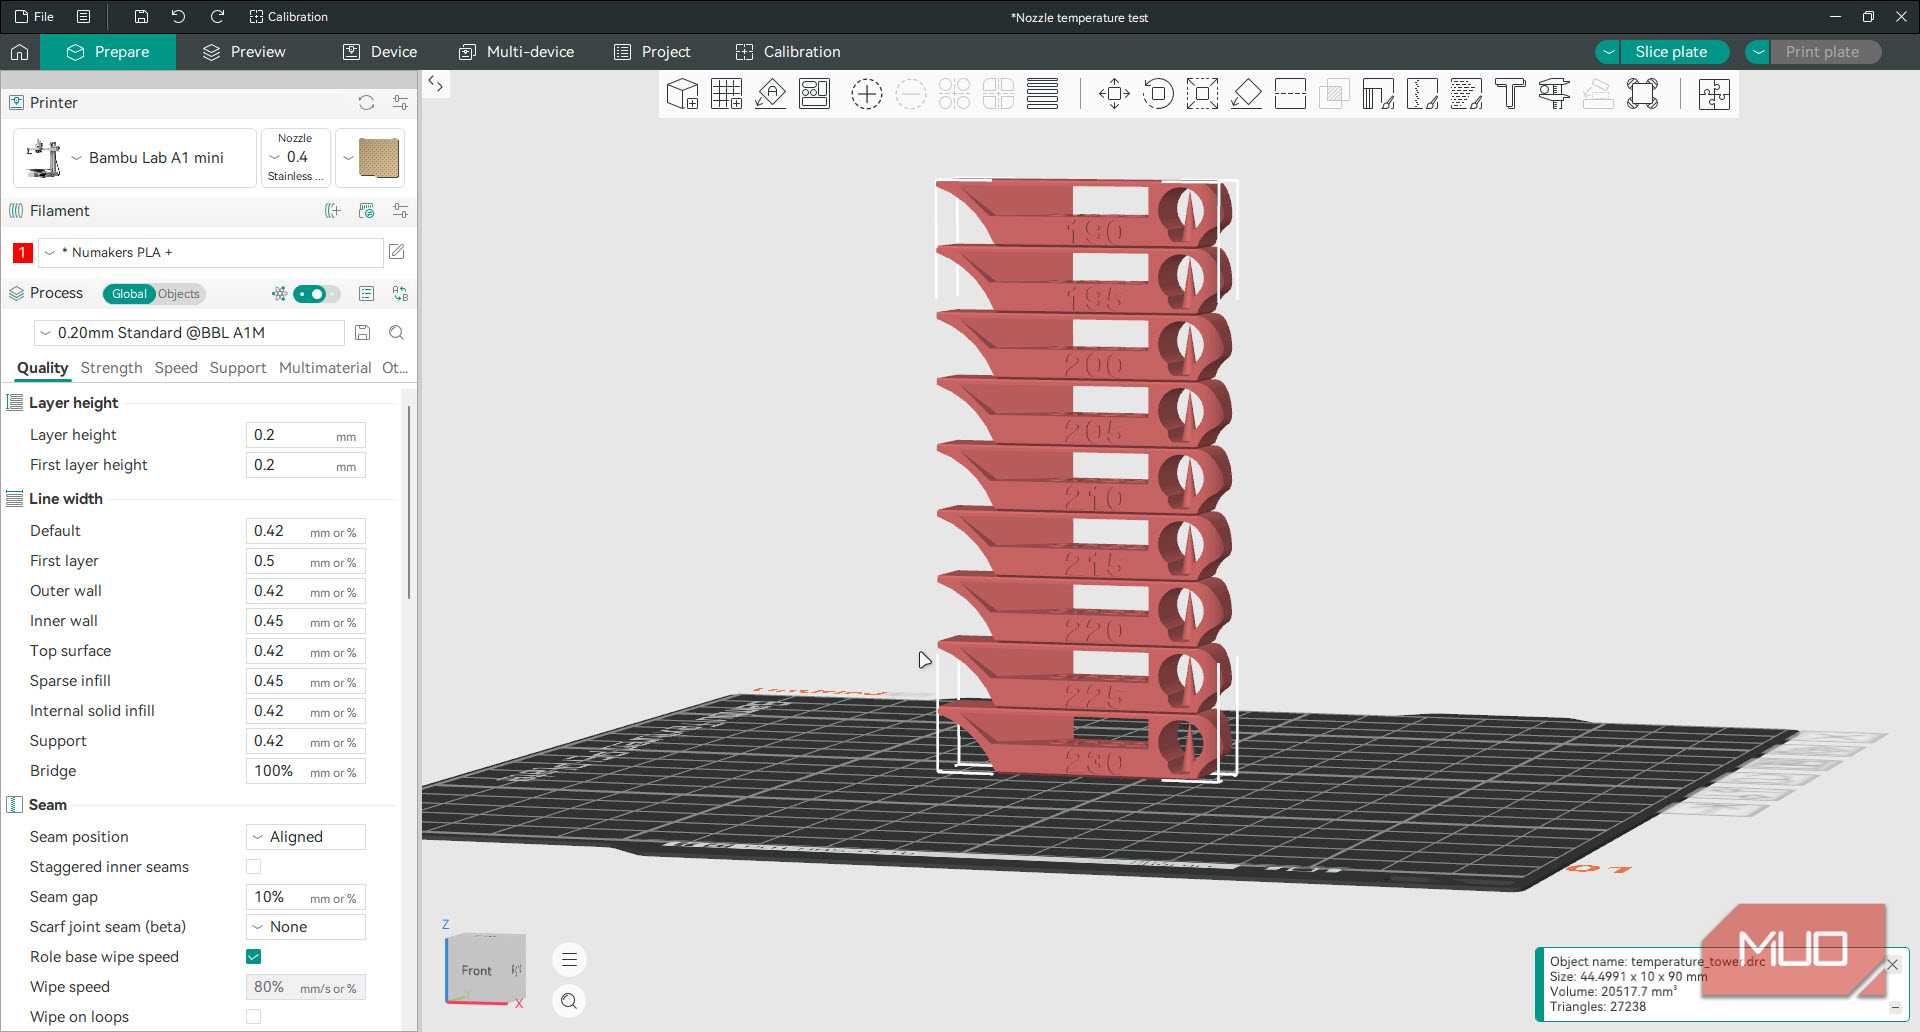
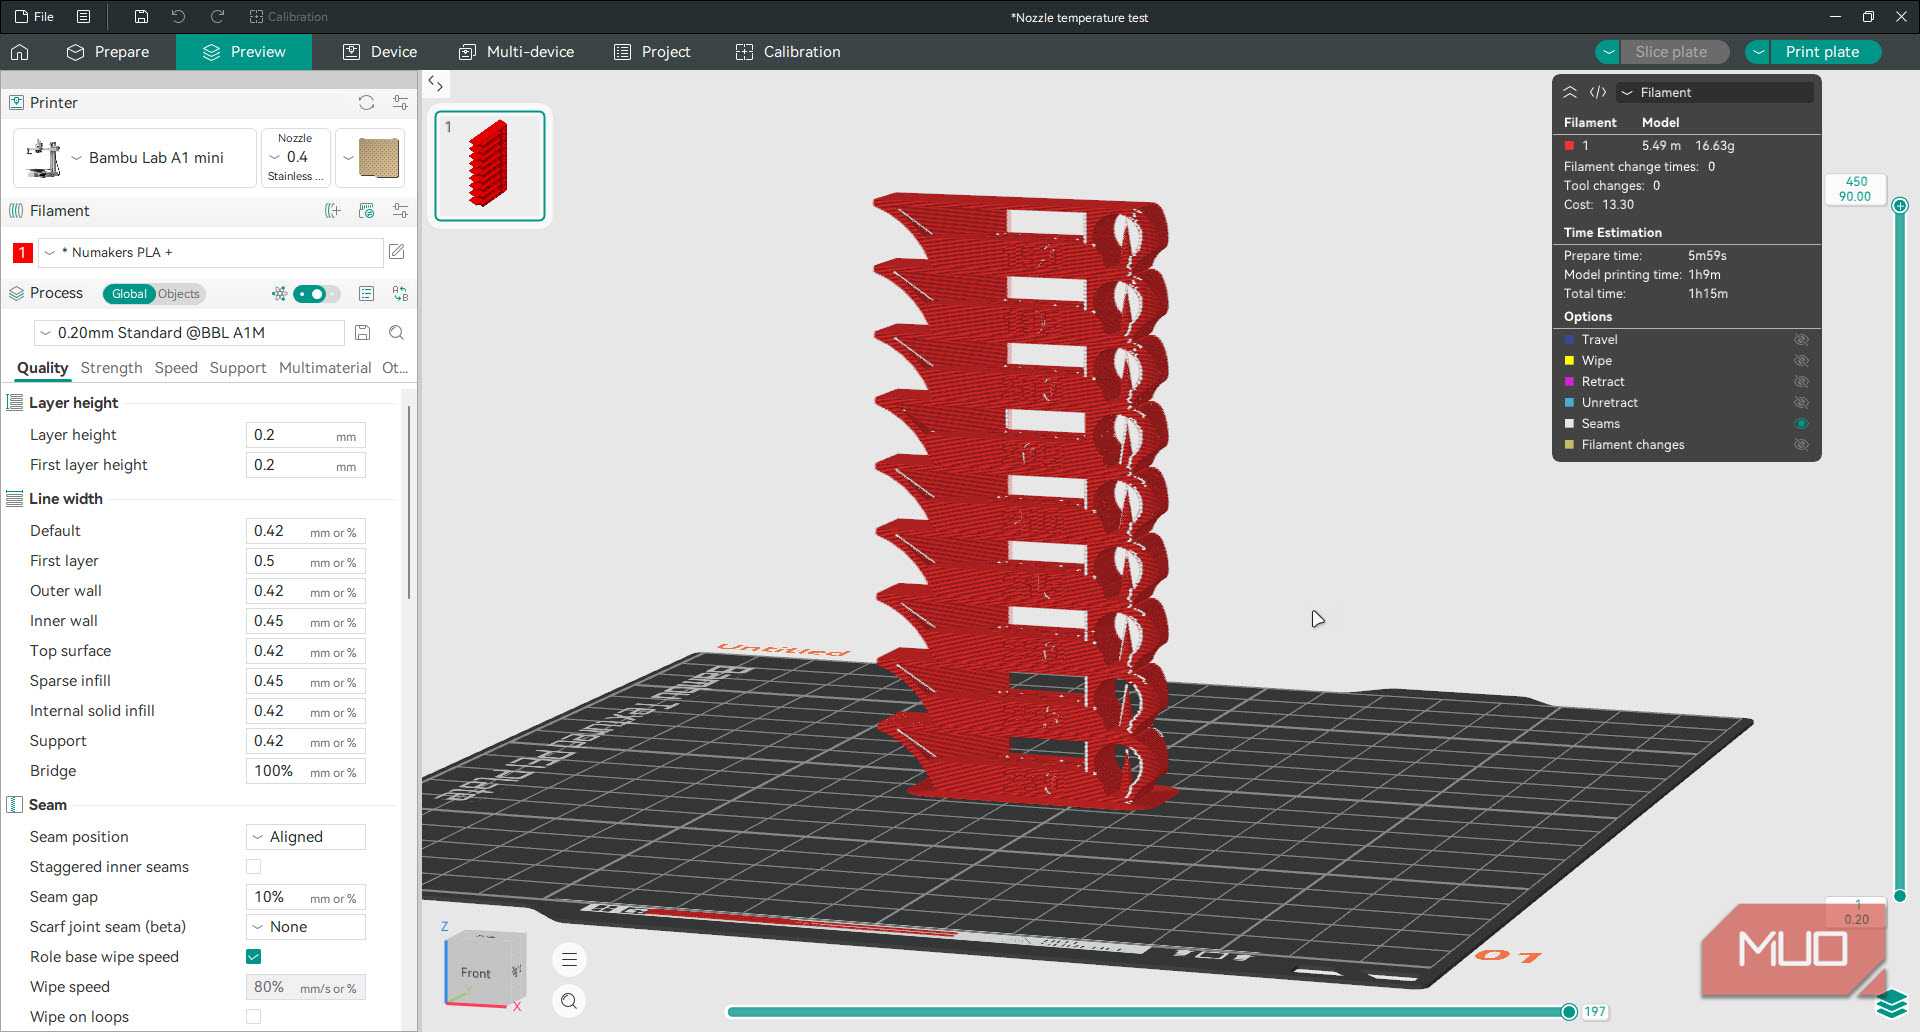
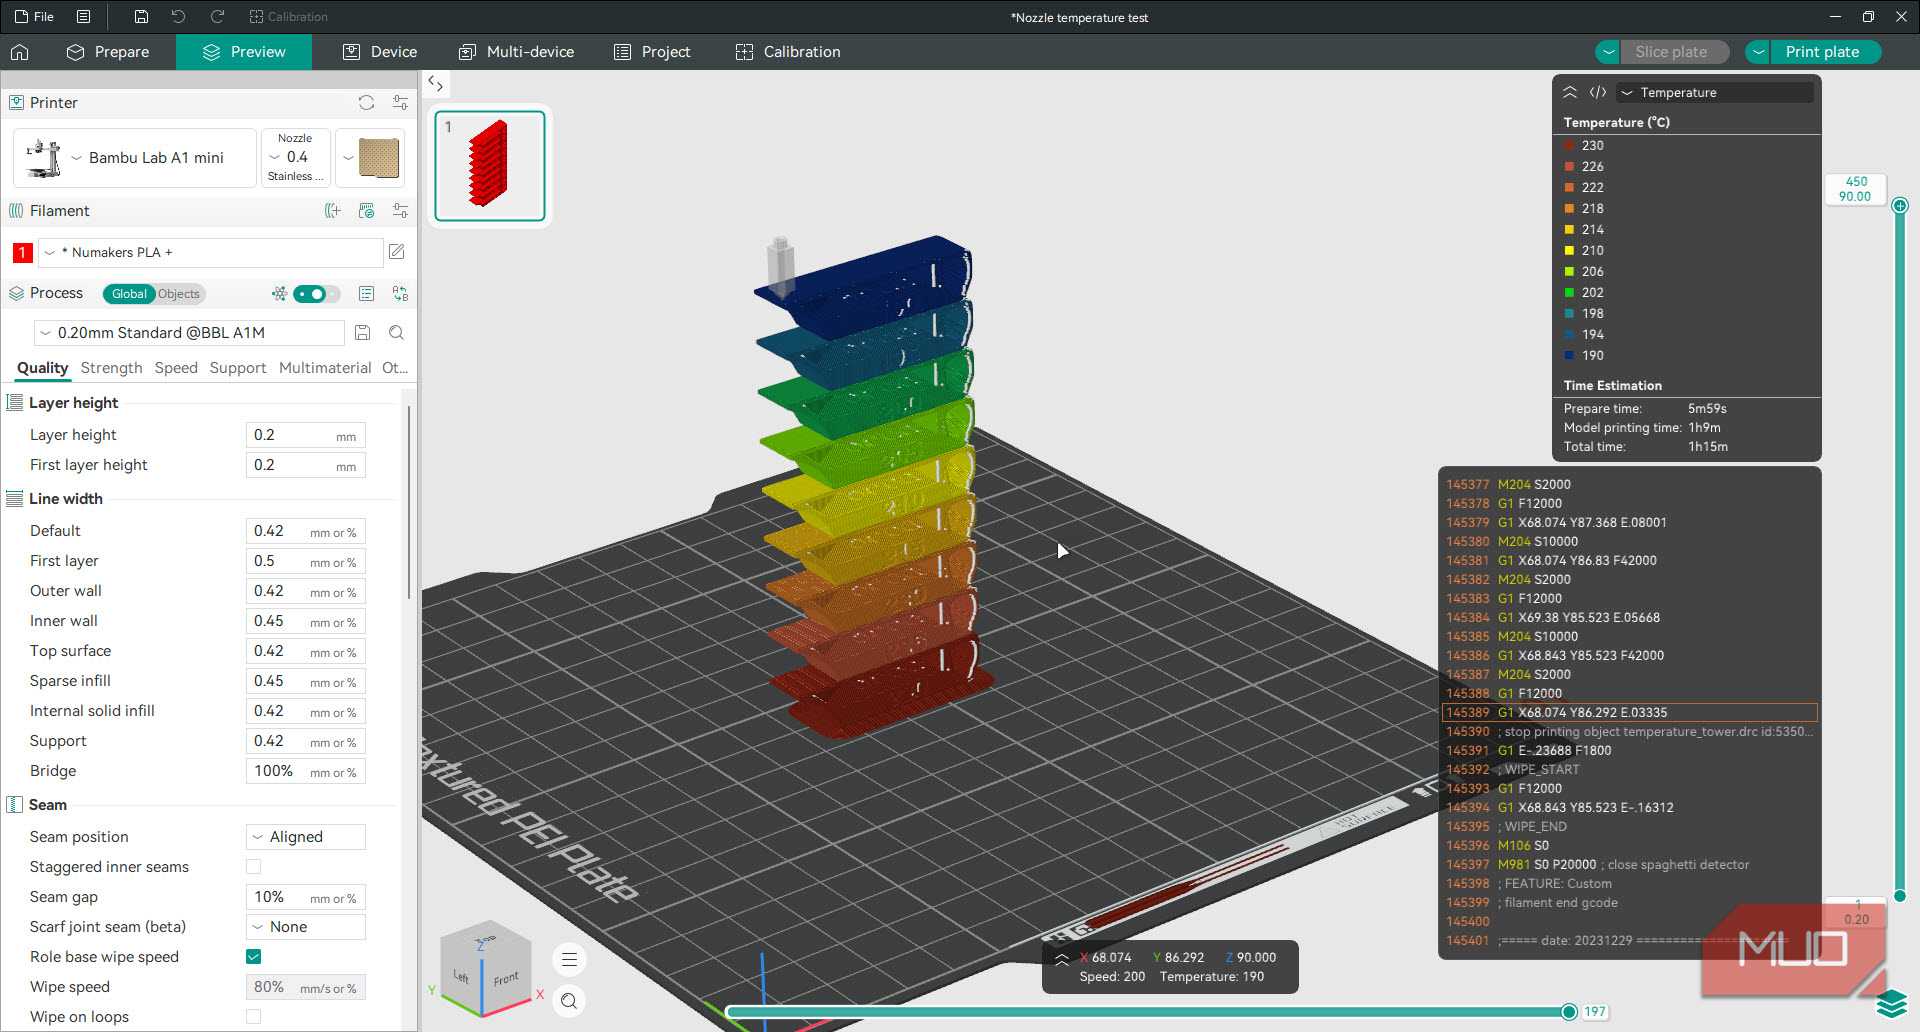
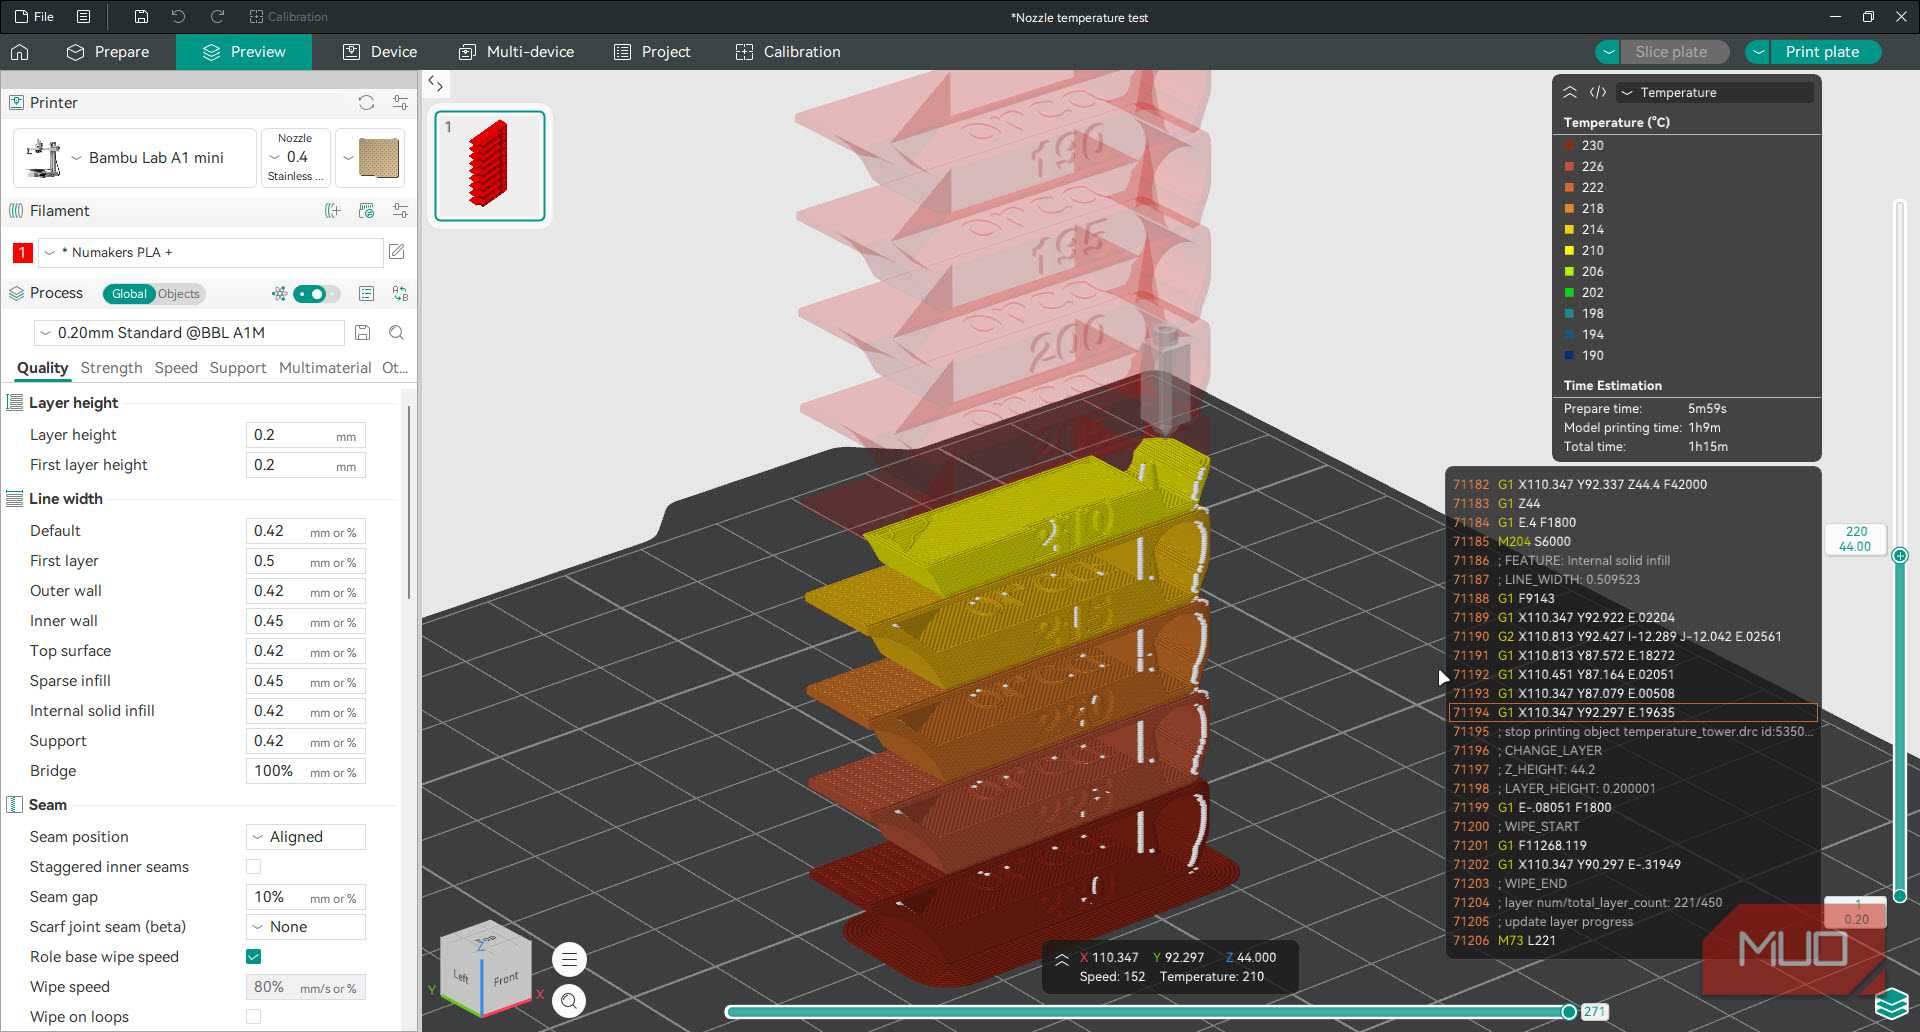
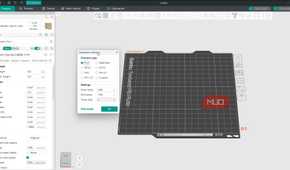
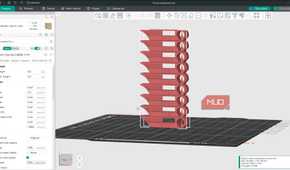
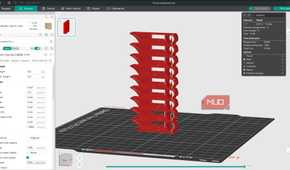
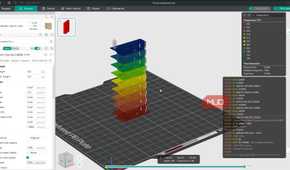
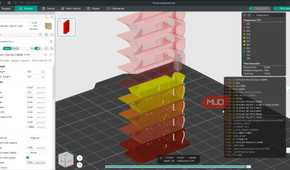
A temperature tower is a vertical model divided into labeled zones, with the nozzle temperature changing at each section. It tells you whether your filament is being melted at the right temperature for your particular printer, nozzle, and speed. Each zone usually includes bridges, small overhangs, some text, sharp details, and open gaps, which makes temperature problems easy to compare. It's also one of the first tests you should run when calibrating filament.
The best segment isn't the best-looking one here. You want the lowest temperature that still produces clean bridges, reliable layer bonding, and no extruder skipping. The print can also expose hardware problems that a normal cube won't. If every segment looks rough, weak, or under-extruded, even well inside the filament maker's recommended range, look for a partial clog, a damaged PTFE liner, a loose heater or thermistor connection, or a hotend that cannot maintain temperature at your chosen volumetric flow.
Retraction tower
Less retraction than you think, until it strings

The retraction tower print generally involves two small conical towers close to each other. Its purpose is to reveal how well the extruder relieves pressure in the nozzle before the print head crosses open air. A properly tuned tower has little or no stringing between its pillars, while each parameter band changes retraction distance, speed, or both.
When you're running the test, choose the lowest retraction setting that keeps the gaps clean. Going beyond that point doesn't make the printer better — it raises the chance of filament grinding, delayed extrusion, and clogs. This is more a balance rather than a pass-fail test too. Fine hairs across the gap suggest too little retraction, a travel speed that's too slow, or filament that is too hot or wet. Missing material at the beginning of a perimeter, clicking from the extruder, or scars after a travel move point towards too much or overly fast retraction. Make sure to dry your filament and set the correct print temperatures before running the test.
Single wall cube
Calipers don't lie, even when your cube looks fine

The single-wall cube, also called a flow cube, diagnoses whether the printer is depositing the quantity of plastic the slicer expects. Slice a hollow cube with one perimeter, no infill, and no top layers, then measure the wall away from corners and the seam with calipers.
The measured wall thickness should match the commanded line width. If it is consistently too thin, the printer is under-extruding; If it is too thick, it's over-extruding. This is also far more accurate than eyeballing a solid calibration cube.
If changing flow fixes the wall measurement, save that adjustment in a filament-specific profile rather than treating it as a permanent printer correction. Different materials, colors, and brands can flow differently. If the walls vary around the same cube, however, you might be looking at a partial nozzle clog, dirty or slipping extruder gears, inconsistent filament diameter, drag on the spool, or a hotend running past its melt capacity.
Cheaper than diagnosing a ruined 12-hour print
A well-tuned 3D printer isn't the one that never fails; it's the one you can diagnose quickly whenever it does. Normal prints running into problems don't reveal a lot because there's generally too much going on to isolate the issue. Test prints, however, are made to troubleshoot these bugs.
Keep the models saved in your slicer library and rerun them when you change filament, swap a nozzle, move the printer, or update firmware. A few short calibration prints take far less time than troubleshooting a failed 12-hour project — while making future prints more predictable.