


I’ve been port forwarding for years but never understood what my router was actually forwarding. I’d also configured my fair share of VPNs and firewall rules, yet, just like DHCP, NAT still felt like several networking jobs hidden behind an acronym.
The most common explanation of NAT, or Network Address Translation, is that it lets private devices share a single public IP address. That’s true, but it doesn’t dive into the nuances of NAT, like connection tracking, filtering upstream routers, and reflection rules.
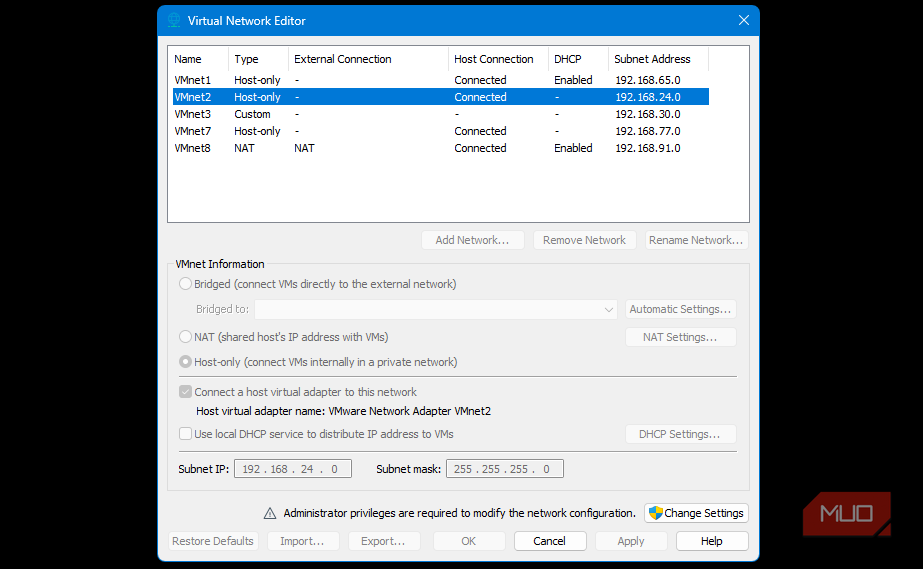
To better understand just what’s going on inside my router, I put a Windows 11 VM behind an OpenWRT router and sent its traffic through VMware NAT. The internet saw a public IPv4 address, but the test exposed four more addresses and a working port forward that vanished upstream.
The same connection appeared under four IPv4 addresses
Each address belonged to a different point along the route


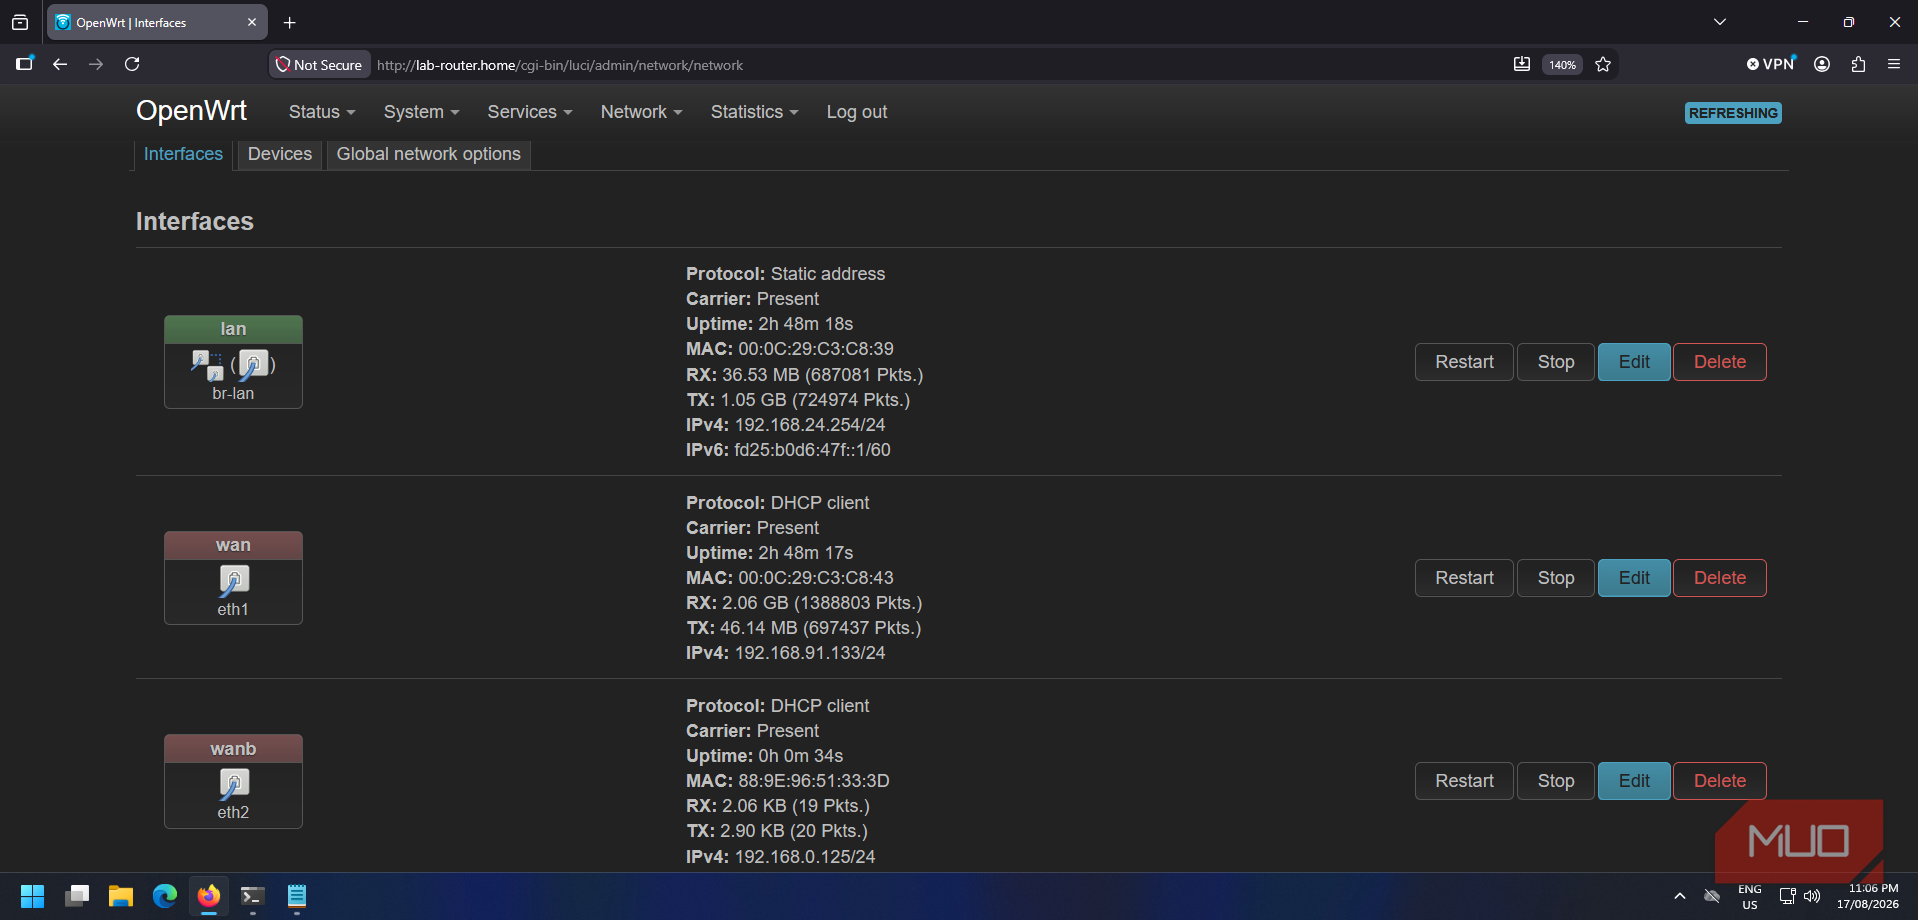
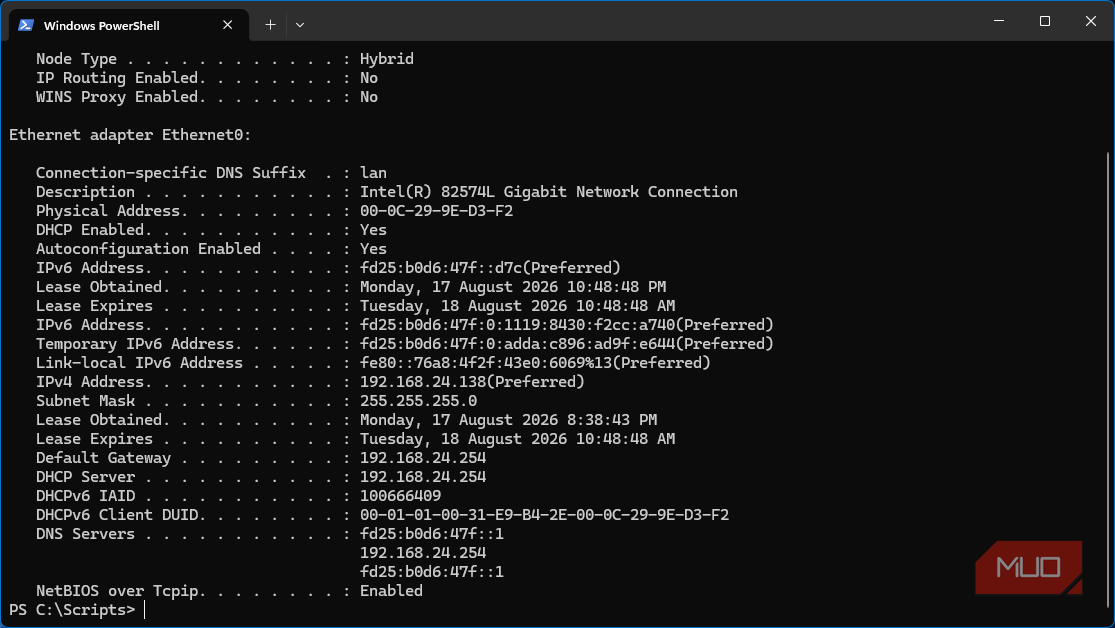
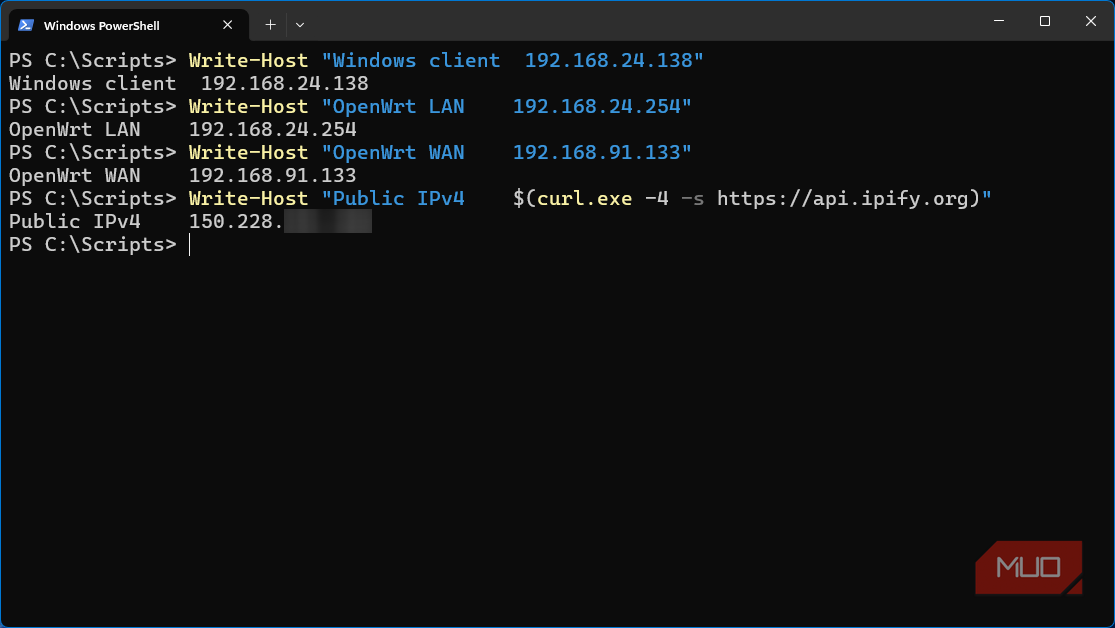
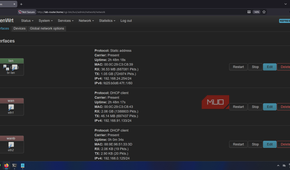
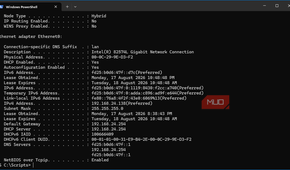
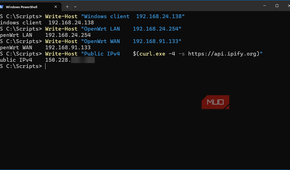
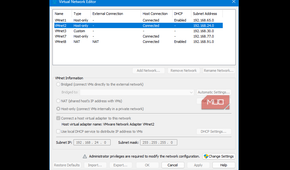
Before this exploration, I thought of NAT in terms of two addresses. Private IP addresses that belonged to devices that stayed within my network and a public IP address that websites could see. The lab exposed two more addresses between them, giving me four IPv4 addresses appearing along the same route:
|
Position |
Address |
|
Windows 11 VM client |
192.168.24.138 |
|
OpenWRT LAN |
192.168.24.254 |
|
OpenWRT WAN |
192.168.91.133 |
|
Public internet |
150.228.xxx.xxx |
The Windows VM sends each internet connection to its default gateway, which in this case was OpenWRT’s 192.168.24.254. Here, NAT applies a form of source NAT called masquerading, which replaces a packet’s private source address with the outgoing interface's current address.
As traffic crosses the router, its source is changed from 192.168.24.138 to the WAN address at 192.168.91.133. In my lab, the packets needed to traverse yet another NAT as they left VMware’s virtual network. At this point, VMware translated it again before going on to the next router, but this wasn’t the final NAT boundary.
My ISP’s default IPv4 service adds Carrier-Grade NAT upstream, allowing multiple subscriber connections to share public IPv4 addresses. By the time the traffic reached a website, it appeared to come from 150.228.xxx.xxx. That address is owned by my ISP, Starlink, and wasn’t assigned to either Windows or the OpenWRT router. The four addresses in the table above were the ones I could see, not a complete list of every address along the path.
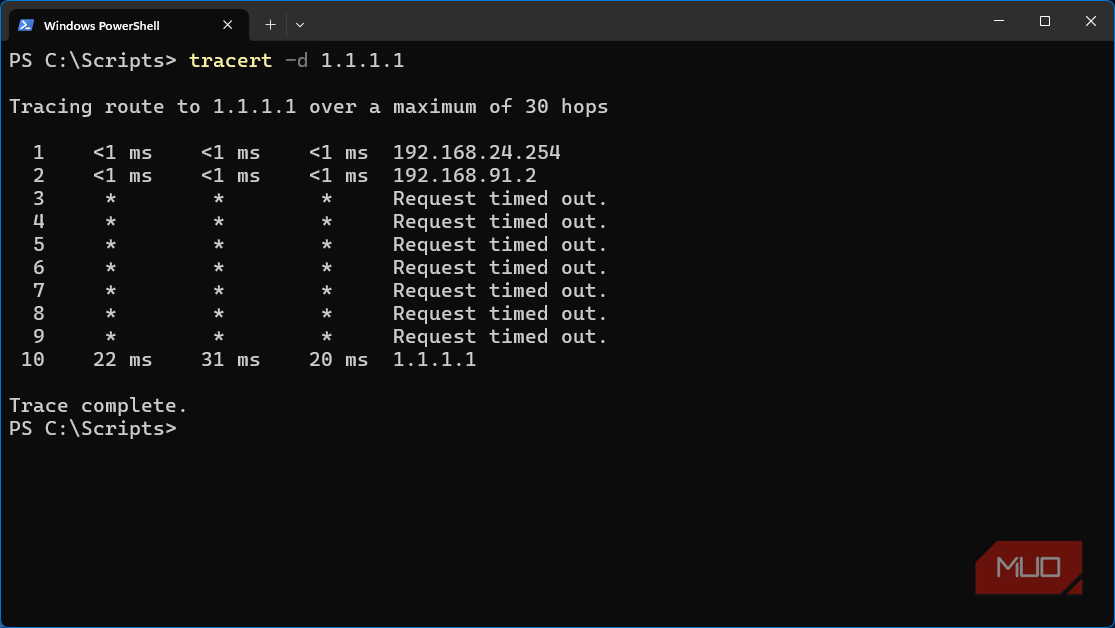
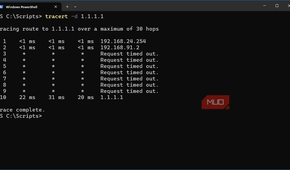
Performing a basic traceroute to Cloudflare made the first two layers visible. Hop one was OpenWRT at .254, followed by VMware’s .2 NAT gateway. Several later hops timed out before Cloudflare answered at 1.1.1.1. Those gaps didn’t mean the packets vanished. It was just that the intermediate routers declined to return the TTL-expired responses, which the traceroute relies on.
So, when looking at NAT, the useful question isn’t “What is my IP address?” It’s more “Which interface has this address, and am I looking before or after the address translation?” Once I started asking that, the technology behind NAT started falling into place.

OpenWRT
- OS
- ESX, VMWare, Supported Routers
OpenWrt is an open-source router operating system that replaces stock firmware with a more flexible, configurable networking platform. It adds deeper control over routing, firewall rules, DHCP, DNS, traffic shaping, VPNs, and package-based features.
NAT and the firewall were doing different jobs
Translation changed addresses while filtering decided what was allowed

With modern consumer routers, it’s so easy to mistake NAT for a security feature. That’s because unsolicited connections typically fail when they reach a home router, and ISP-supplied routers often place masquerading, port forwarding, and traffic rules all under one menu labeled “Firewall.”
OpenWRT lets me separate them. Its WAN zone had masquerading enabled by default, while its input and forward policies were set to reject. From the host at 192.168.91.1, I used a PowerShell cmdlet that tested TCP network connectivity to the Windows 11 VM:
Test-NetConnection 192.168.91.133 -Port 80 
The connection, of course, failed because the WAN zone firewall rejected it. So, I added a narrowly scoped rule that accepted TCP port 80 from my host laptop. The test passed and returned True, and OpenWRT’s LuCI web interface became reachable. This rule did not involve any changes to masquerading.
NAT continued translating the Windows VM’s outbound connections. The firewall separately decided to accept a new WAN-side connection. A port forward is another distinct operation that uses destination NAT to redirect traffic to an internal service. Port forwarding rules also need an accompanying firewall allowance to work.

Years of configuring home routers taught me the wrong idea. NAT rewrites addresses, and firewalls filter connections. Port forwarding redirects them.
The router remembered every outbound conversation
Replies worked because the router kept temporary connection records

Replacing and translating addresses explains what leaves my router, but not how replies find their way back. I generated repeated HTTPS requests from the Windows VM and filtered OpenWRT’s /proc/net/nf-conntrack table for 192.168.24.138.
Each connection produced two matching views:
- out: 192.168.24.138:60129 -> 172.66.147.243:443
- reply: 172.66.147.243:443 -> 192.168.91.133:60129
The first set recorded:
- Its temporary source port
- The remote server
- The HTTPS port
The reply set showed the server answered 192.168.91.133:60129, OpenWRT’s translated WAN address, and matching port. Because OpenWRT had stored the original relationship, it could reverse the translation and deliver responses to 192.168.24.138. It never had to broadcast the packet or guess which client opened the connection.
The source port remained 60129 on either side because nothing else conflicted with it. NAT can absolutely translate ports when required, but it doesn’t change every port just because it can.
The table also labeled live sessions ESTABLISHED, while completed requests remained in TIME_WAIT. Their decreasing timeout values showed that mappings do survive briefly after the application finished, but then expire.
Any SSH and DNS entries that were aimed at the router’s LAN address 192.168.24.254 looked a bit different. These terminated on the router itself, so no WAN translation was ever required.
A port forward only changed the NAT layer I controlled
Every upstream translator still needed somewhere to send the connection

To test the reverse direction, I ran a small PowerShell web server on the Windows VM. The server was listening at 192.168.24.138:8080 and displayed its private address, the requested URL, and the remote client’s IP and port.
Before adding any forwarding rules, the physical host couldn’t reach port 18080 on the router’s 192.168.91.133 WAN address. The script running the web server read the requested URL from PowerShell’s HttpListener object and took the client address and port from RemoteEndPoint.
I then created this destination NAT rule:
192.168.91.133:18080 -> 192.168.24.138:8080
After saving the changes, the host immediately loaded the private Windows page through http://192.168.91.133:18080. Although the browser requested .133:18080, the page identified its private server as .138:8080 and its remote client as 192.168.91.1 with a temporary source port. This showed that the router rewrote the destination address and port before passing the connection into its LAN.
However, when testing from the public internet, my phone failed to connect to 150.228.xxx.xxx:18080.

This was expected and is actually one of NAT’s strong points. The rule only applies to the router. It doesn’t create another forwarding through VMware NAT or through my ISP’s CGNAT. Each upstream translate still needs its own instructions, and as much as I’d love to be able to, I can’t configure Starlink’s equipment.
That sounds a lot worse than it actually is. Double NAT, or placing one NAT translator behind another NAT, rarely disrupts normal browsing, and it’s unlikely to interrupt other outbound traffic because the connections create temporary mappings as they leave. The limitation does show up, however, with self-hosted services, game servers, and peer-to-peer applications.
A port forward isn’t a tunnel through every router along the route. It’s one destination and port rewrite at one translation boundary.
NAT loopback turned an outside address back toward my LAN
The router needed another translation to reflect the connection internally

NAT loopback, sometimes called hairpin NAT or NAT reflection, is a useful Network Address Translation feature. It means that I run the PowerShell web server from inside the Windows VM, and make the VM reach its own web server through the router’s WAN address:
http://192.168.91.133:18080So, how does this work and why on Earth would I want to do it? The request began at 192.168.24.138, targeting 192.168.91.133, and somehow arrived back at 192.168.24.138:8080. Most routers automatically enable NAT loopback by default when creating a port-forward rule.
Instead of sending the request upstream, it reflects the connection into the LAN using another translation. I confirmed the browser was actually following this route by using Test-NetConnection again in PowerShell from the VM. Port 18080 passed while loopback was enabled.
To try and understand loopback better, I disabled that option within the port forward rule, leaving the web server and WAN-to-LAN forward still operational. Running the same test again, then failed. Re-enabling loopback restored it immediately.

I use loopback when a self-hosted service inside my network uses the same hostname outside my network. If NAT loopback didn’t exist, the public name would work from an external connection such as a mobile internet hotspot, but fail from the LAN side. Split-horizon DNS, or a DNS resolver that gives out a local address if the request comes from a private IP, and vice versa, avoids this lengthy detour if I choose to disable NAT loopback.
Using IPv6 instead of IPv4 generally removes the need for address sharing in the form of NAT. But it doesn’t remove stateful firewall rules or the need to understand what traffic is permitted.
NAT started making sense to me after I separated it into four jobs:
- Routing packets
- Translating addresses
- Remembering connections
- Filtering traffic
So next time I see all these functions squeezed into one misleading little router icon, I’ll know to separate them before blaming NAT for all of it.