


Press the button on a Ryobi ONE+ pack, and four green lights feel like a full tank. I've trusted that little display on every pack in my shop, from the compacts that came bundled with tools to the 6.0Ah battery I grab most often. The gauge, it turns out, answers a narrower question than the one I was asking. It reports a charge band rather than how long your tool will run, and those bands aren't evenly sized.
The reading also shifts depending on when you press the button and what the pack just finished doing. Once you know what the lights measure, you can stop getting caught short halfway through a cut and start matching the right pack to the job.
Four lights only promises three-quarters of a charge
Ryobi's scale gets stingier as the pack drains
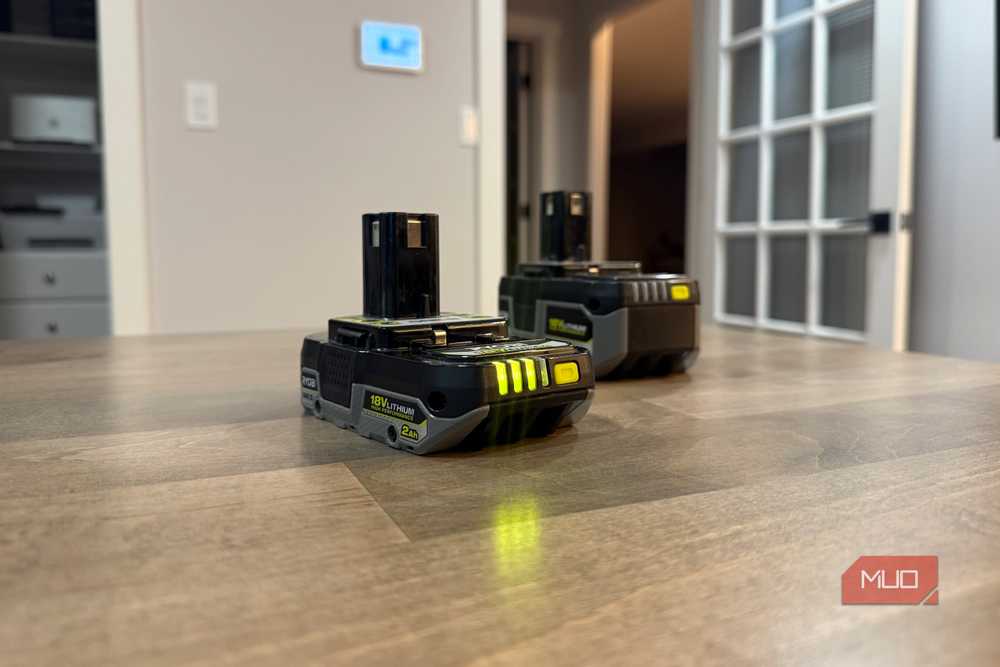
Ryobi prints the scale in its battery manuals, and it isn't divided into neat quarters. One flashing light covers 0–10%. A single steady light covers 10–25%. Two lights mean 25–50%, three mean 50–75%, and four mean anything from 75% to 100%.
That top band is wide. A pack fresh off the charger and a pack that already bored a few dozen pilot holes can both show four lights, even though one holds a quarter less energy. The display can't tell them apart, so neither can you.
The bottom of the scale works the other way. That last steady light spans only 15 percentage points, so the drop from one light to flashing arrives much sooner than the drop from four lights to three. If you're used to the top of the gauge lingering, the end of a pack feels sudden. The battery is fine. The scale simply squeezes the final stretch.
The gauge counts percentage, not minutes
Two lights on a 6.0Ah pack isn't two lights on a 1.5Ah
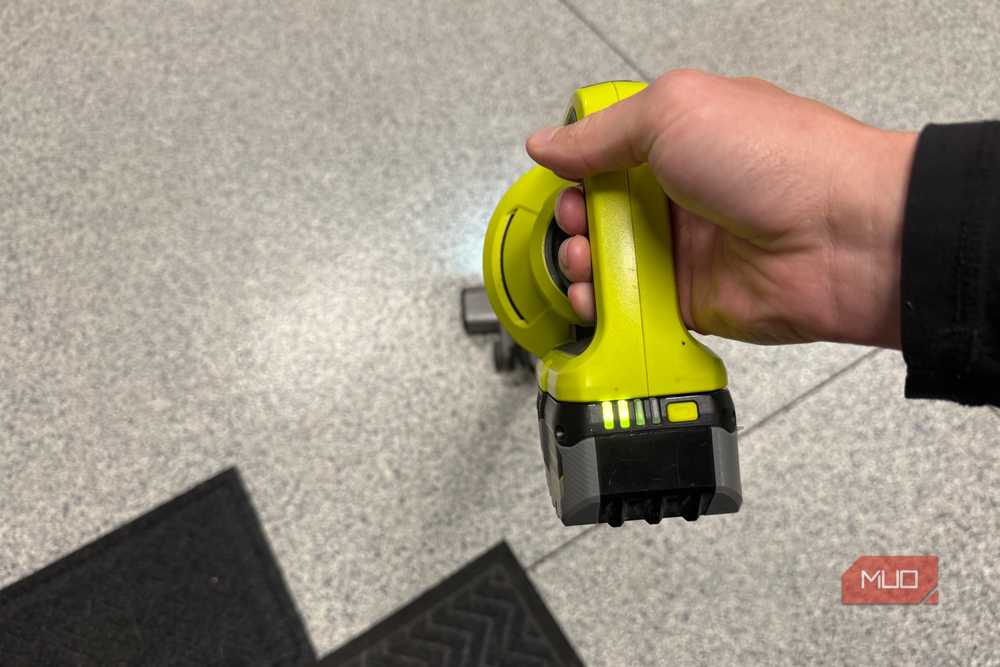
Ryobi's product pages pitch the fuel gauge as a way to monitor remaining runtime. The manual is more careful and calls it the amount of charge left. That distinction matters, because runtime hinges on two things the gauge never sees: the size of the pack and how hard the tool pulls.
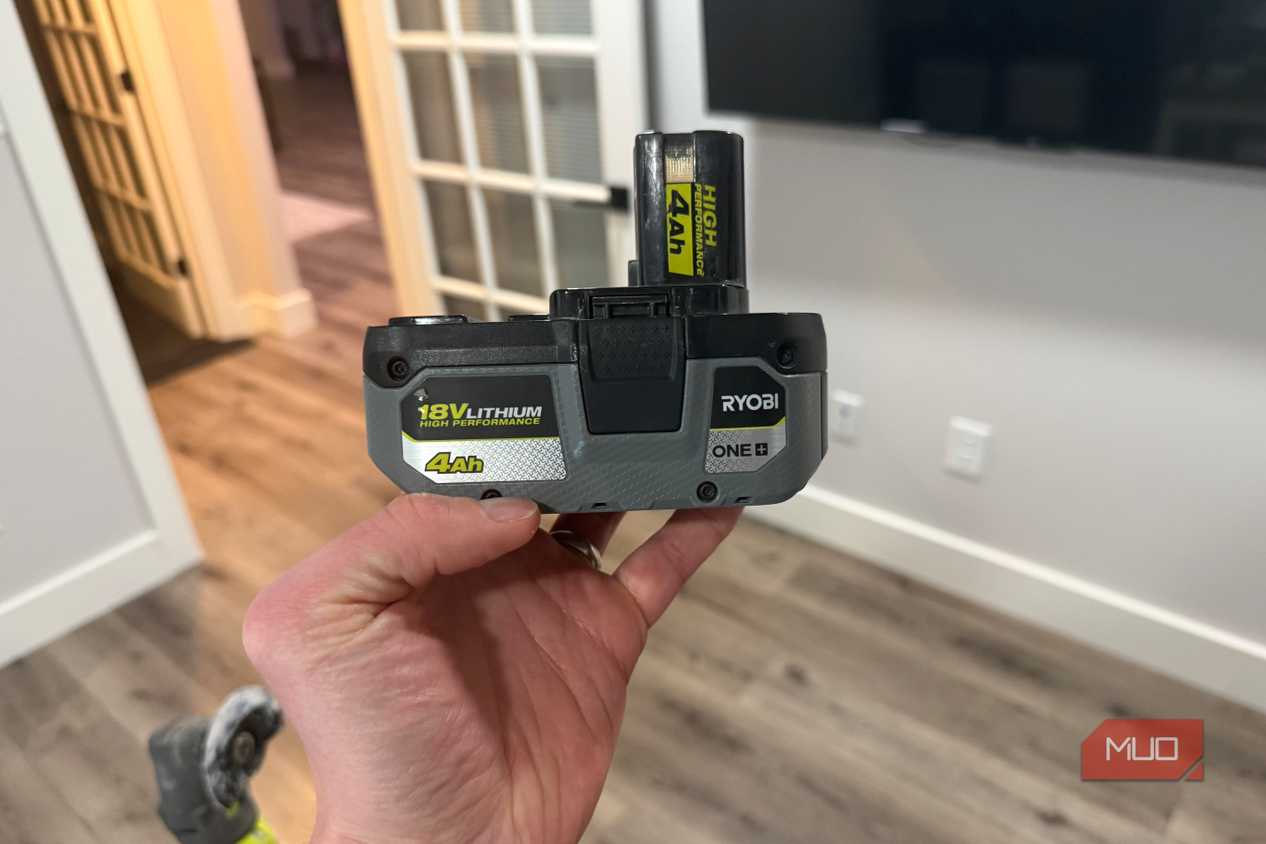
Two lights on my 6.0Ah PBP007 means somewhere between 1.5Ah and 3.0Ah is still inside. Two lights on a 1.5Ah compact works out to roughly 0.4Ah to 0.75Ah. Same display, about four times the energy. Put either one on a circular saw and the gap grows, since a saw empties a pack far faster than a drill sinking screws.
Read the lights alongside the label on the pack and the tool above it. Three lights on a compact will easily hang a shelf, but on a saw ripping plywood, the same reading might not finish the sheet. It's one more reason the biggest battery isn't always the smart buy: capacity shapes your runtime more than the display lets on.
Checking right after a hard cut undersells the pack
Let the battery rest a minute before you trust the reading
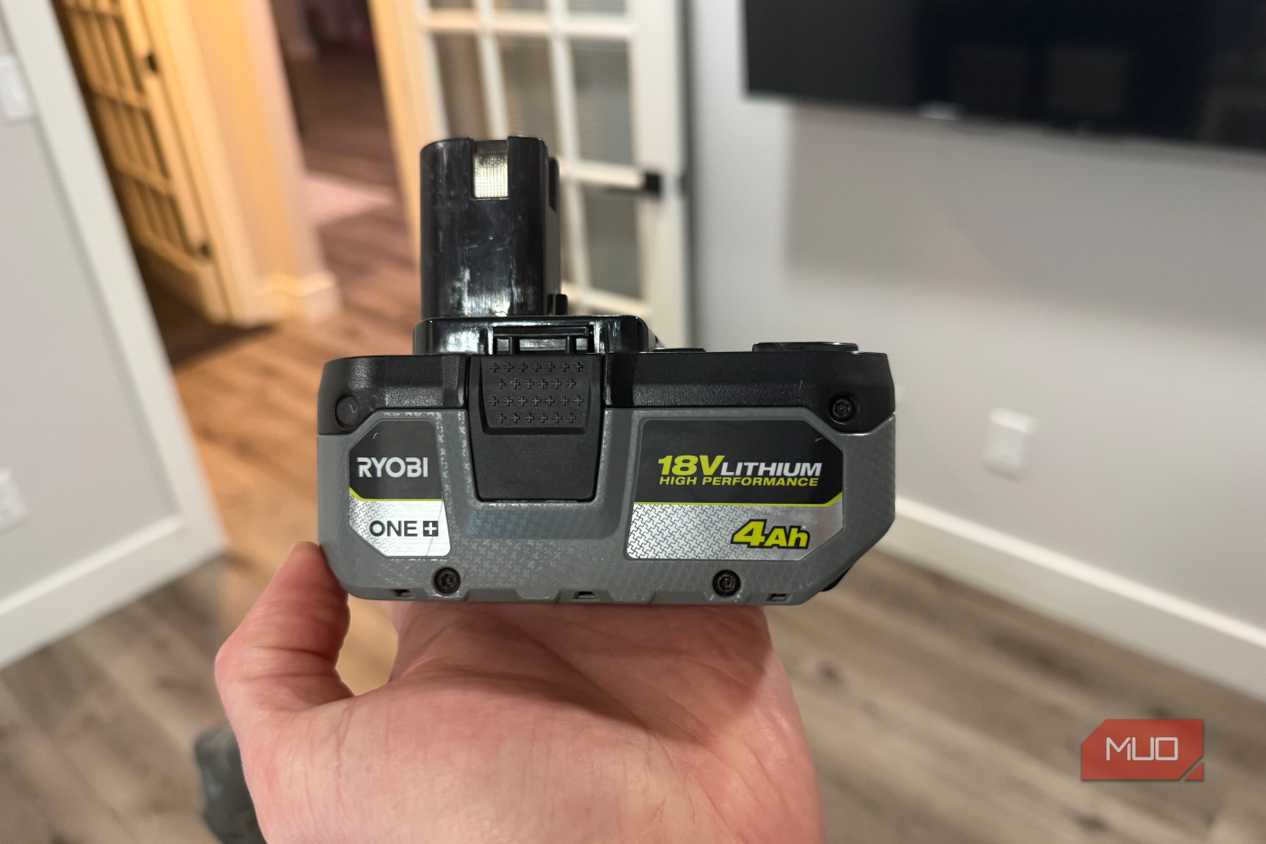
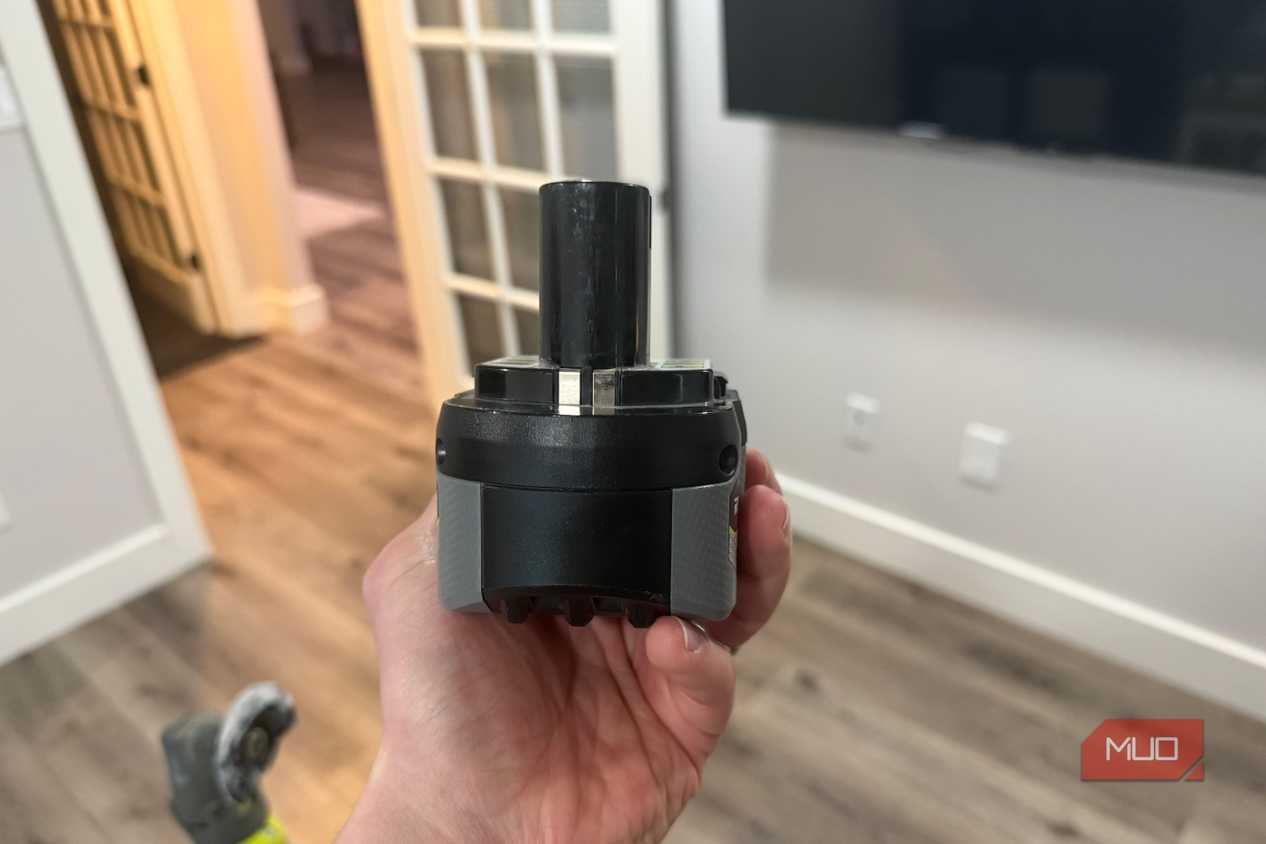
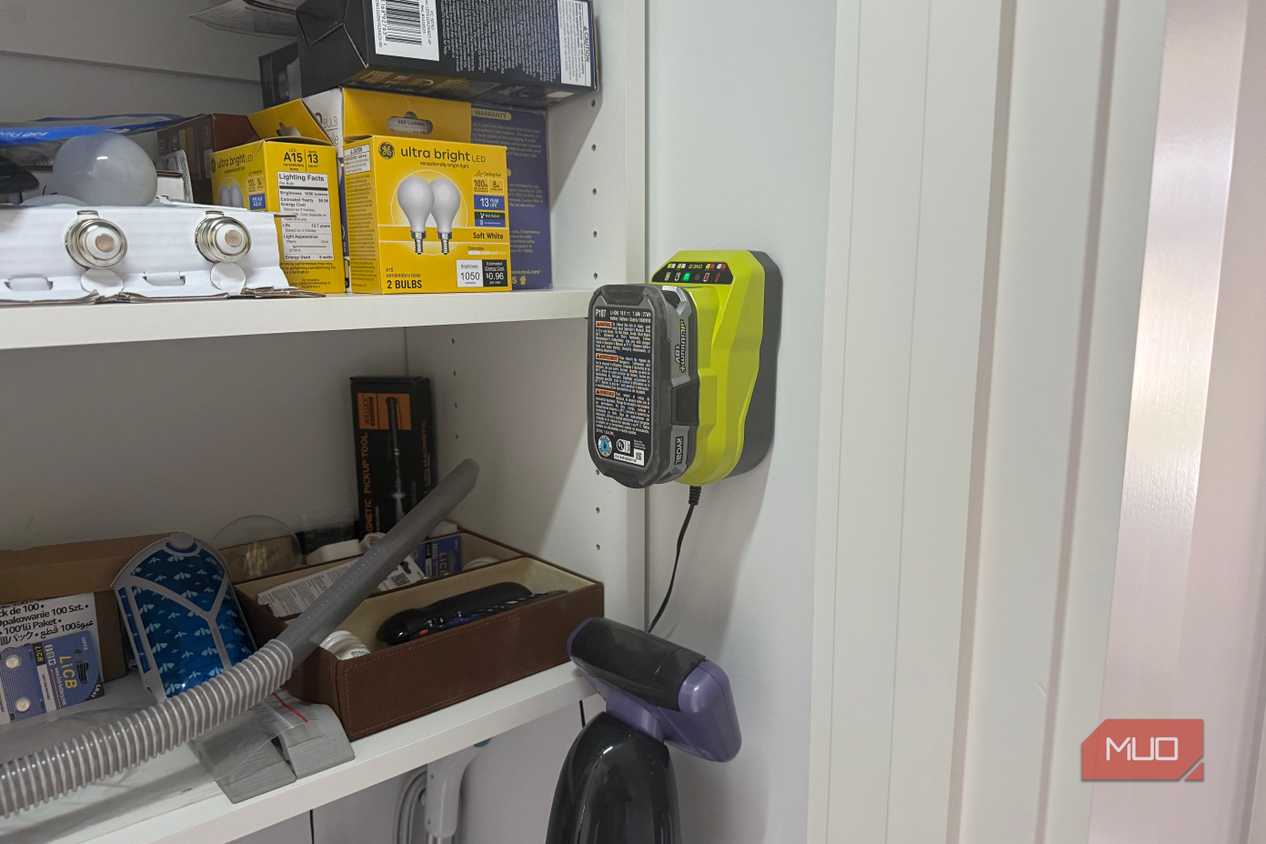
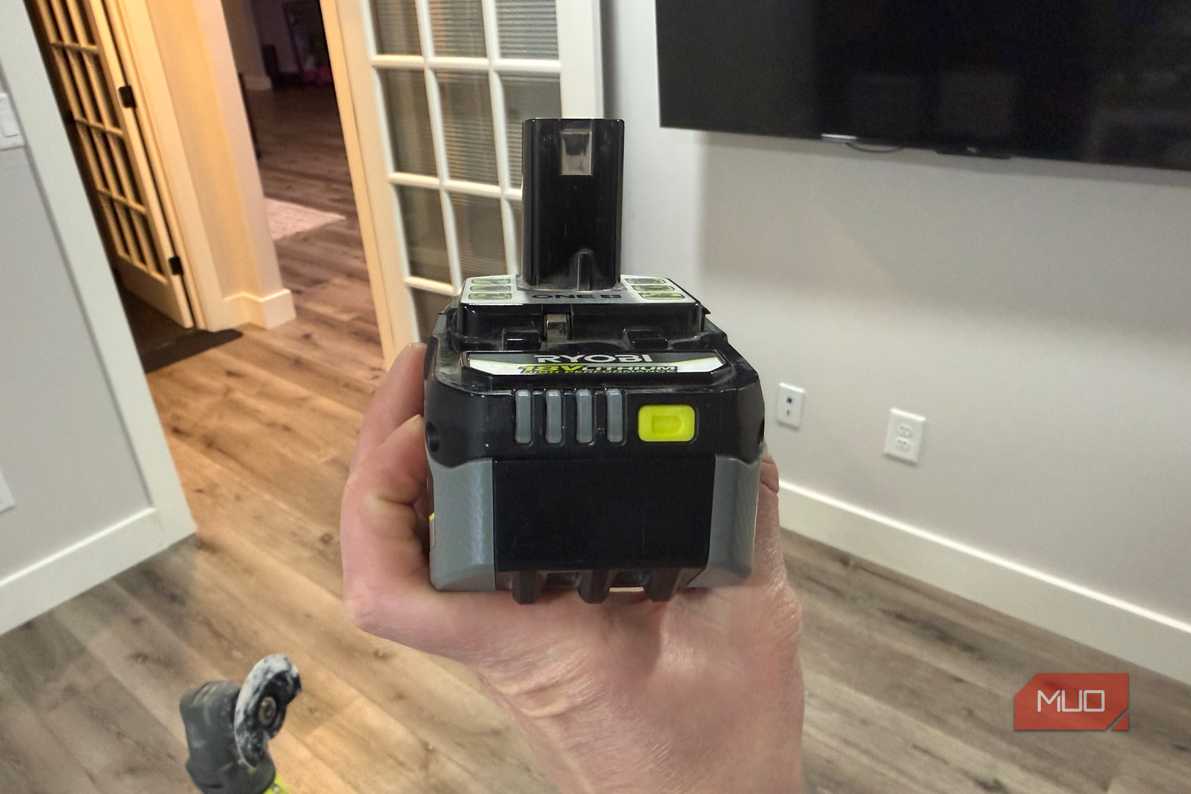
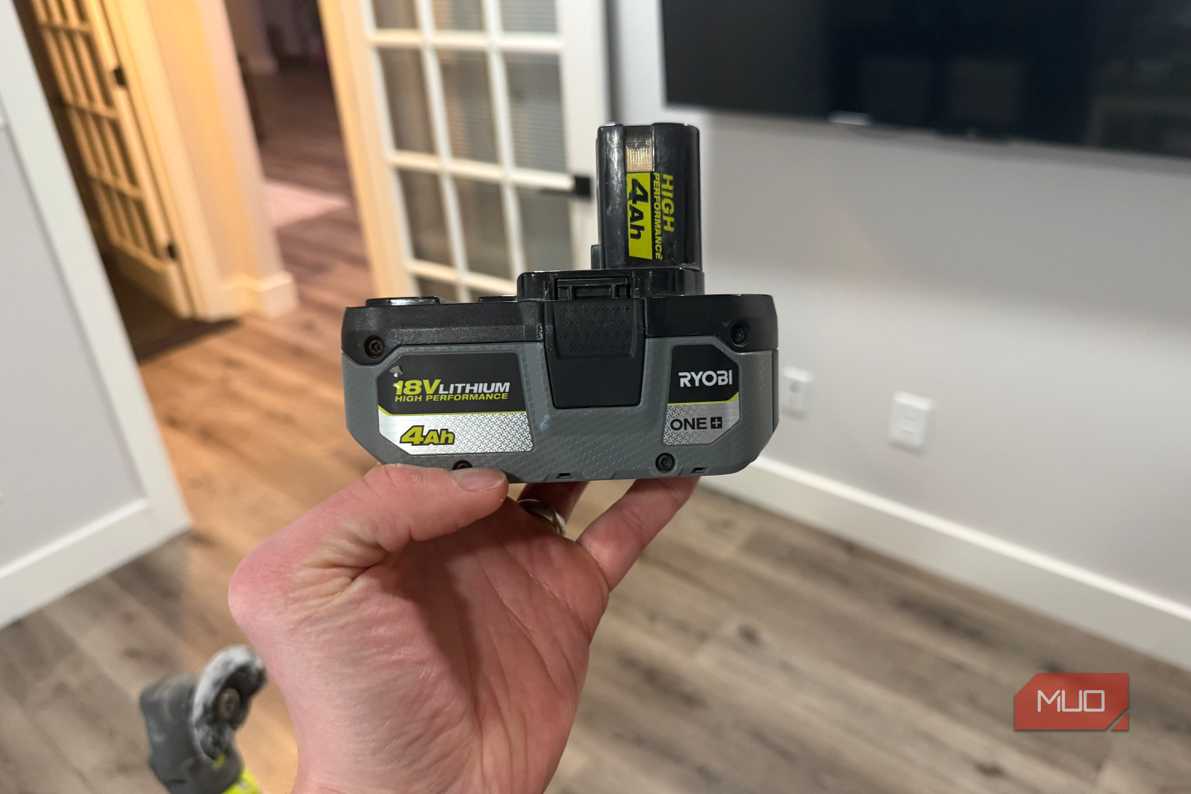
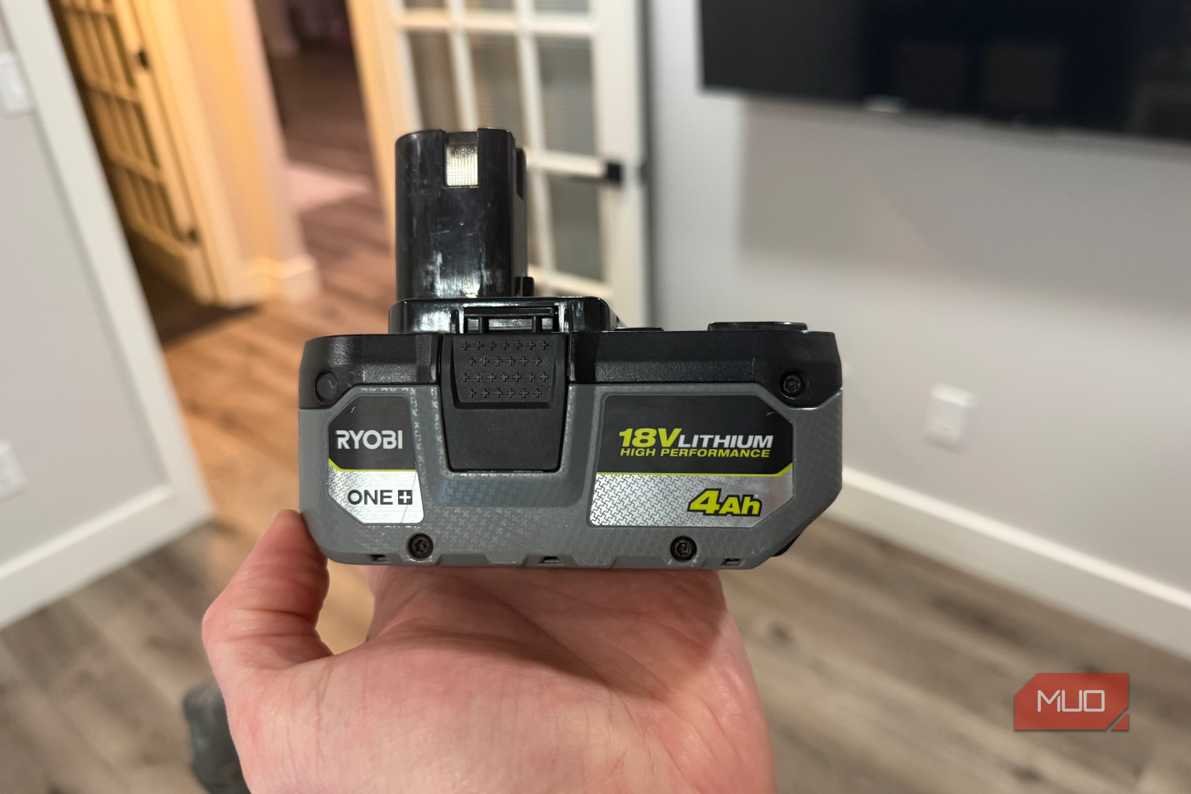
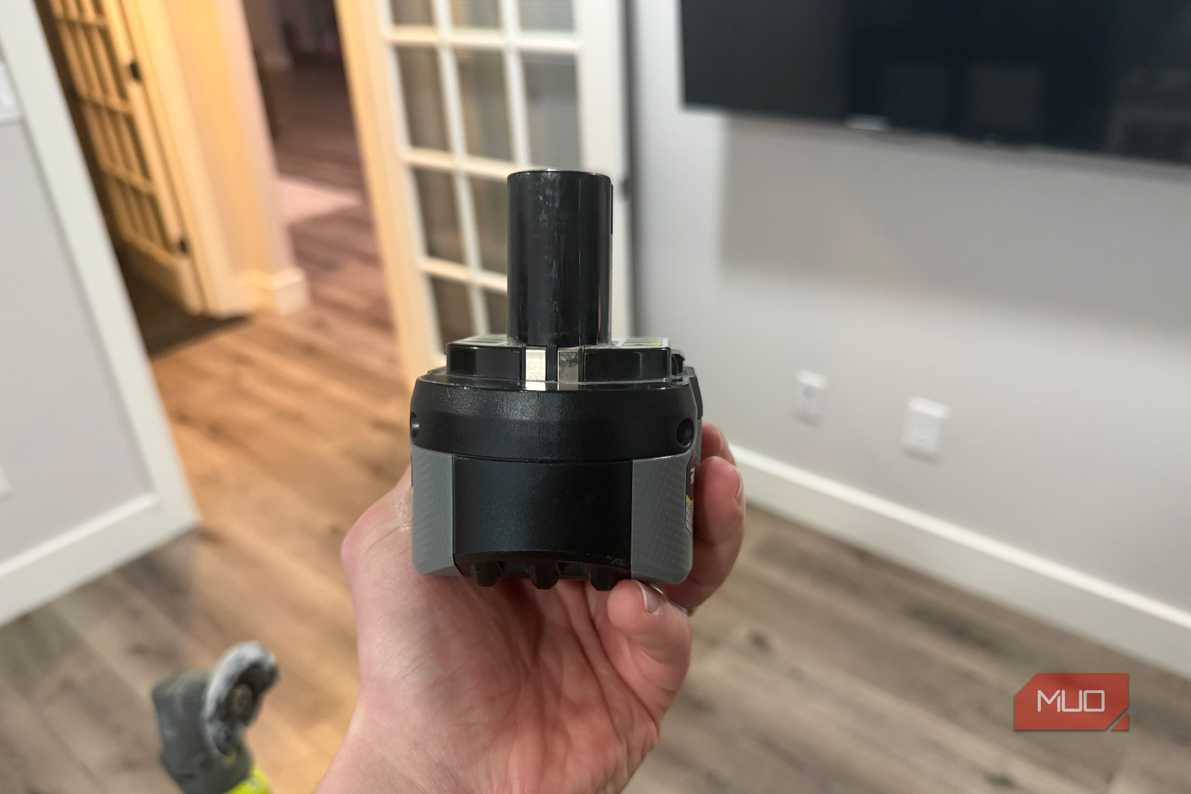
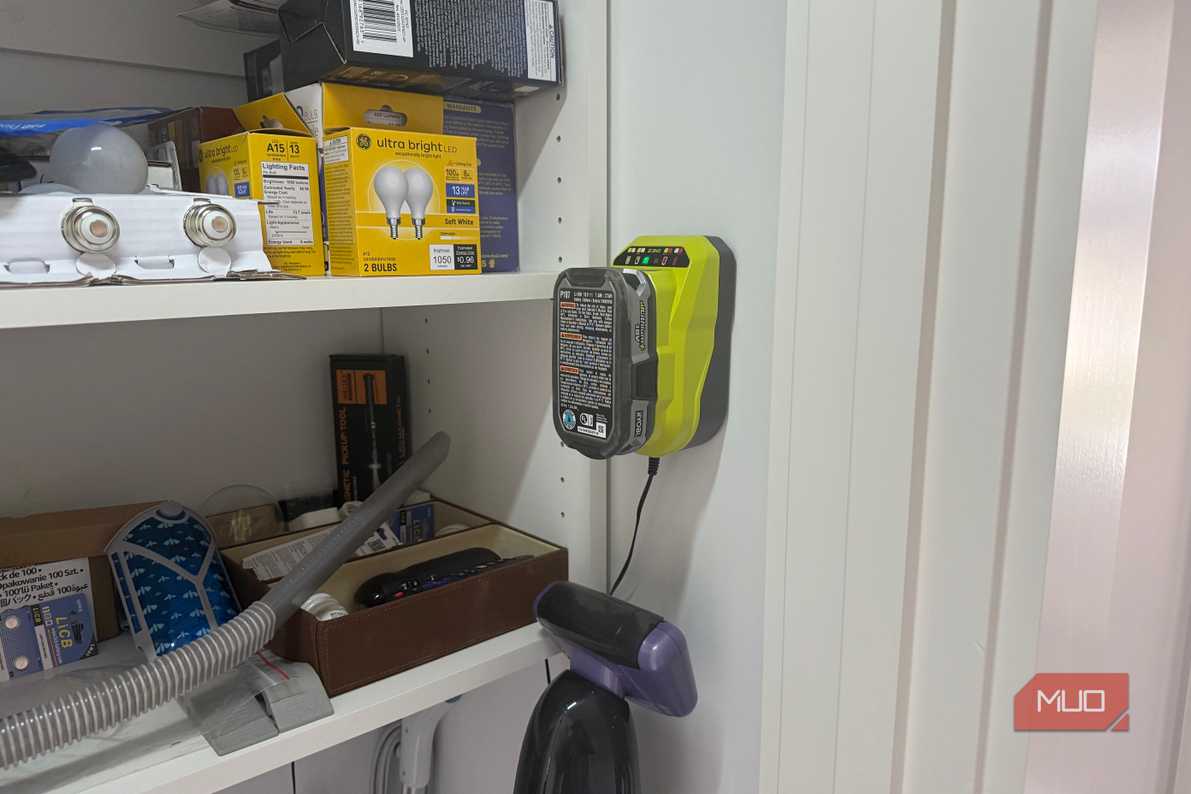


 Credit: Jonathon Jachura / MUO
 Credit: Jonathon Jachura / MUO
 Credit: Jonathon Jachura / MUO
 Credit: Jonathon Jachura / MUO
 Credit: Jonathon Jachura / MUO
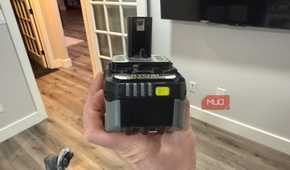
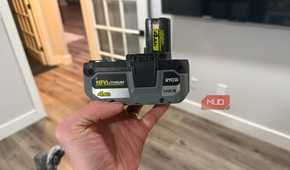
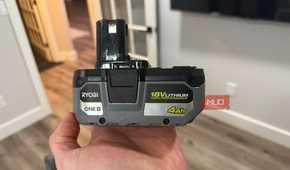
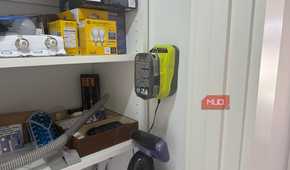
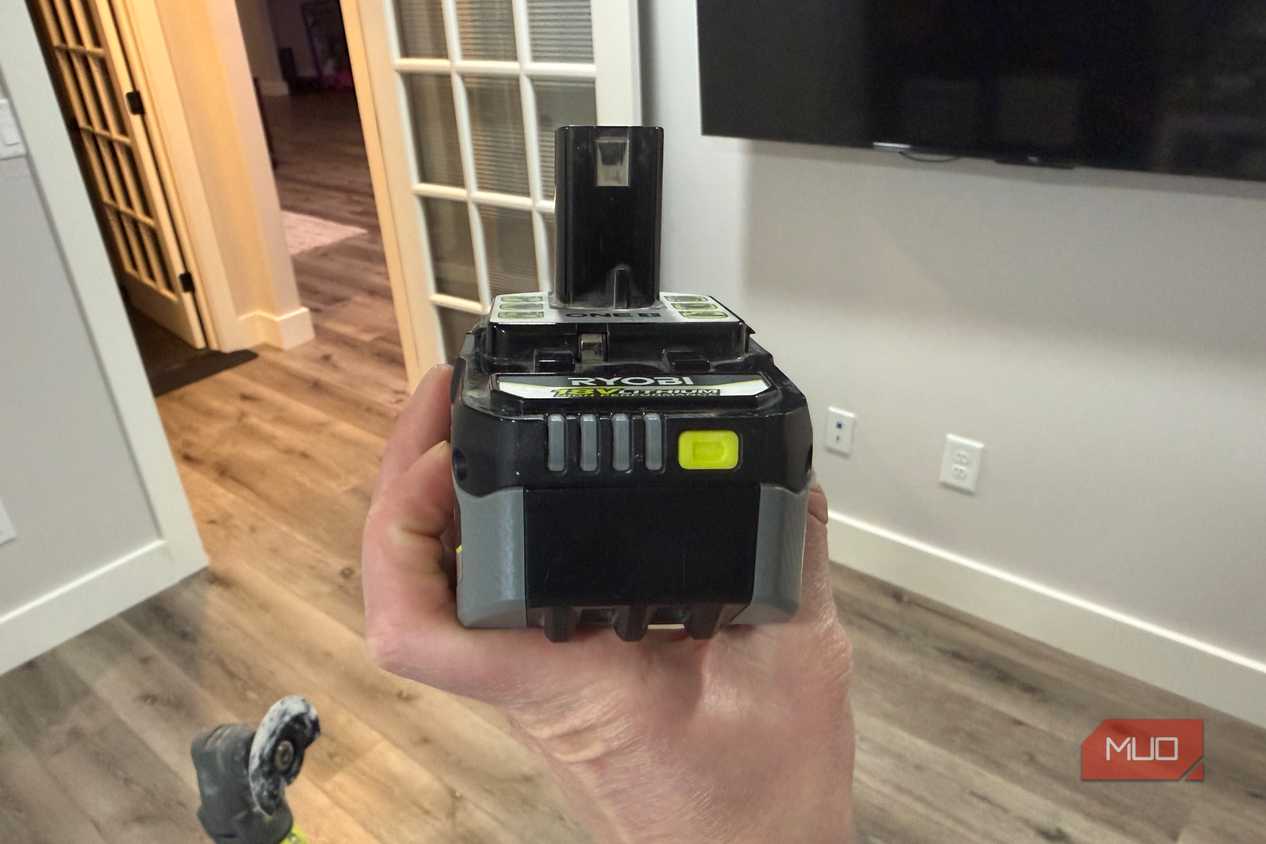
The gauge doesn't track energy flowing in and out. It estimates charge from the pack's voltage, and voltage moves. Lithium-ion cells sag under heavy load, which is why High Performance packs revived my budget Ryobi tools. Remove the load and the voltage climbs back over the next minute or so.
That sets up a predictable trap. Finish a long cut, pull the battery, press the button, and you might see two lights. Leave it on the bench while you measure the next board, check again, and a third light can come back. The pack didn't recharge itself; the first reading caught it mid-recovery.
Cold produces the same effect. A pack that spent the night in an unheated garage reads low until it warms, and Ryobi suggests easing into a light task first so the cells come up to temperature. For the most honest number, check a battery that has rested indoors.
A full gauge can't tell you a pack is worn out
Charge level and battery health are separate measurements
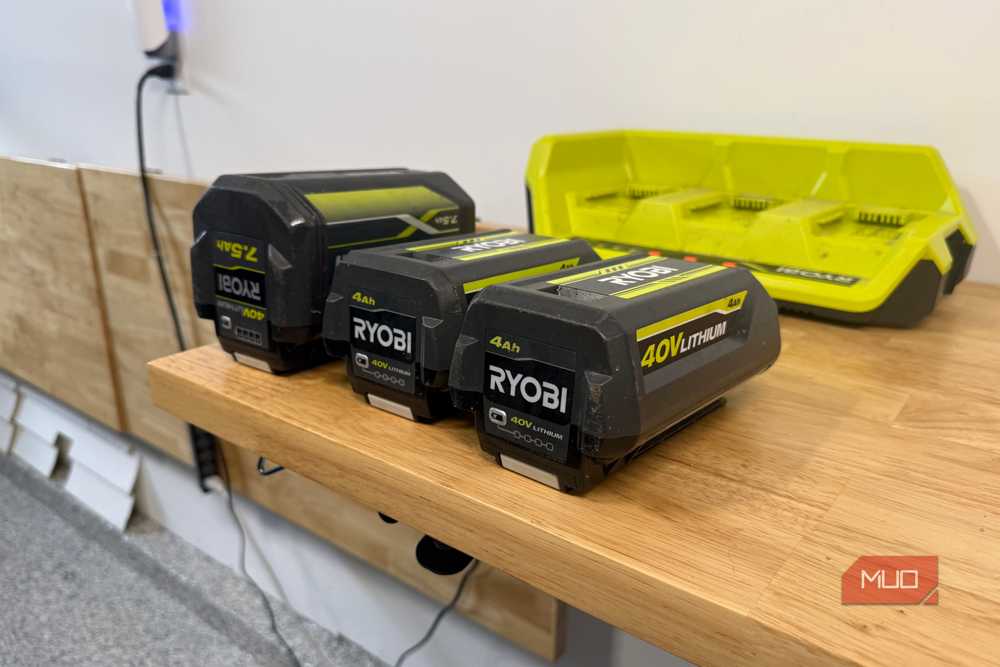
Every lithium-ion pack loses capacity with age, and the gauge has no way to show it. A tired 4.0Ah battery still charges to four lights, because the gauge only knows the cells hit their top voltage, not how much energy they can hold once they get there.
That's how an old pack fools you. It reads full, feels normal for a few minutes, then slides through the bands much faster than it used to and quits early. The lights were accurate the entire time. They just described a smaller tank.
The only real health check is a comparison. Run the suspect battery in a demanding tool, then send a newer pack of the same capacity through the same job. If the old one gives out well before the new one, it's worn, and nothing on the gauge would have warned you. Move it to low-draw duty like a tire inflator, where the lost capacity barely registers.
That single flashing light is your cue to swap
Running a pack to zero leans on the protection circuit
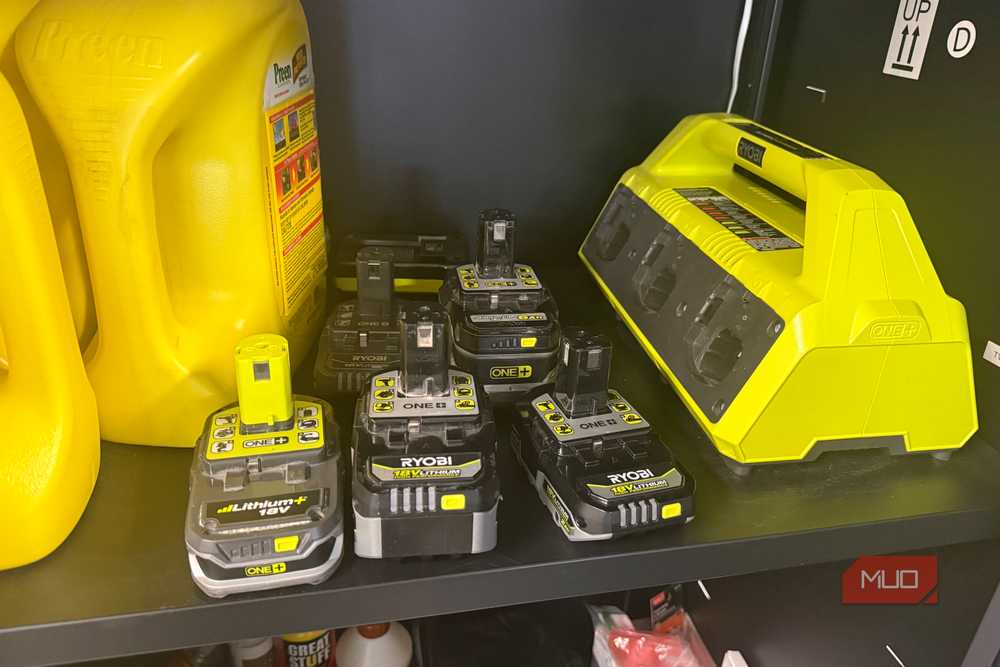
A flashing light means the pack has dropped below 10%. Swap in a charged battery there instead of squeezing out one more cut. Ryobi packs carry protection electronics that stop the tool before the cells drain too far, and they work. Treating that shutoff as a normal stopping point, though, means your tool dies mid-task, usually with a blade halfway through the board.
The flashing light also makes the gauge useful for planning. A job that needs a full pack should start with four lights on a rested battery. The rule carries even more weight with cross-brand battery adapters, since many of them skip a low-voltage cutoff altogether.
Read the lights as a range, not a promise
None of this makes the fuel gauge useless. It's a quick, free check that gets far more trustworthy once you know its limits. Let the pack rest before pressing the button, remember that four lights can mean 75%, and weigh the reading against the pack's capacity and the tool you're about to run. Keep one charged spare on the shelf, and the gauge becomes a planning tool instead of a guess. Sorting your packs by the tools they suit best will stretch every charge even further.