


Straight out of the gate, your PC isn't tuned to deliver peak performance. In fact, you have to adjust several settings to ensure each part runs at full throttle. Unfortunately, these settings aren't apparent to your average PC owner and are buried deep in the BIOS.
As such, I've compiled a few BIOS settings that, upon enabling, will get the most out of your PC, and trust me, it's capable of a lot more than the performance it's yielding right now.
I thought my CPU was maxed out until I tweaked these BIOS settings
A few BIOS tweaks made my PC feel brand new without a hardware upgrade.
Enable XMP or EXPO to unlock your RAM's true speed
Your RAM most probably isn't running at its advertised speeds
DDR5 memory is super fast, achieving a clock speed of up to 8000 MT/s, although going higher yields diminishing returns. Nevertheless, your new RAM requires configuration to run at its advertised speed; out of the box, it's running much slower. On average, the standard speed for DDR5 RAM is 4800 MT/s, even though it might be rated for a higher speed.
The reason is that the normal clock speed your PC is running at is the base profile, and what's advertised are the overclocked settings. However, don't be daunted by the term "overclock" here, since in this case it refers to a profile that's been safely tested and approved by the manufacturer to run.
To achieve those manufacturer-approved safe overclocked profiles, you have to enable XMP in your BIOS for Intel users and EXPO for AMD owners. To enable XMP/EXPO, follow these steps:
- Enter BIOS by pressing Delete or F2 on startup (or your dedicated BIOS key, as it can vary)
- Navigate to the Advanced part of the BIOS, usually by pressing F7 on most motherboards.
- You'll either see OC/Tweaker/AI Tweaker/Extreme Tweaker/Advanced Memory Settings/Overclocking, depending on your motherboard's brand.
- Enable memory profile from under these options: XMP/EXPO/A-XMP to unlock your RAM's full speed.
The settings to find this will differ, but these are the general steps that'll get the job done.

CORSAIR VENGEANCE RGB DDR5 RAM 32GB (2x16GB)
- Brand
- Corsair
- Size
- 16GB
- Technology
- DDR5
- Speed
- 5200MHz
- RGB
- Yes
Resizable Bar/Smart Access Memory gives your GPU more breathing room
This removes a decade-old memory limit that's still on by default
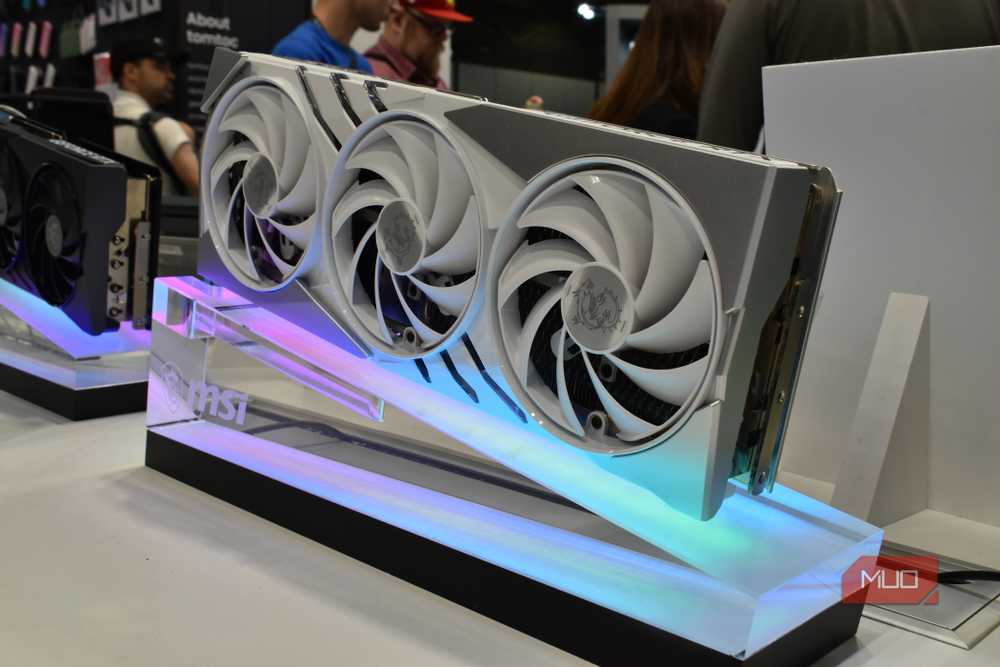
Modern GPUs can move data to the CPU faster. Usually, only 256MB of VRAM is accessible to your CPU at a time, a quirk carried over from the era of 32-bit chipsets to modern 64-bit ones. Fortunately, you can remove this limit and make your CPU access your GPU's VRAM all at once with Resizable Bar for Nvidia GPUs or Smart Access Memory for AMD GPUs. Notably, this feature is only available on newer cards starting from Nvidia's RTX 30-Series and AMD's RX 6000 and later releases. To enable it, follow these steps:
- Enter BIOS via F2/Delete.
- Go to Advanced.
- Enable Above 4G Decoding — either under Advanced or PCI settings, and it's mandatory to do so because, in some cases, Resizable Bar/Smart Access Memory may not appear otherwise.
- Turn on Resizable Bar/Smart Access Memory — under Advanced or PCI settings.
Nvidia claims up to a 15% improvement in gaming with Resizable Bar enabled, although gains depend on which title supports this feature, and some titles may benefit more compared to others.
Enabling CPPC preferred cores makes your Windows use the fastest cores first
This is especially impactful on X3D chips
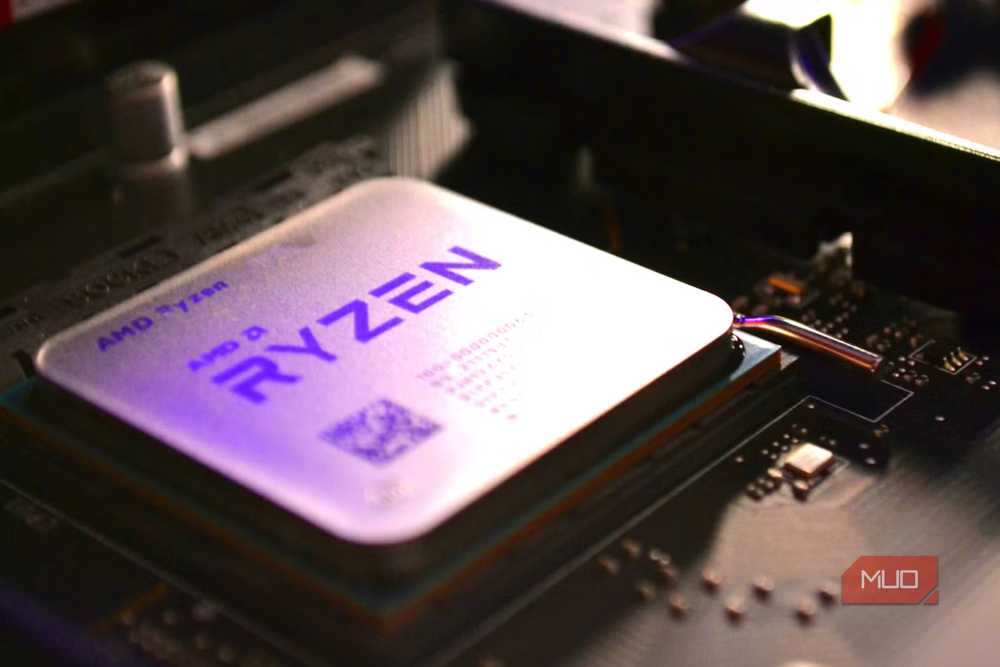
Not all cores of your CPU are the same — some run better than others, but your system doesn't really know which one to use for a single-threaded task, which means that you're missing out on maximum performance and efficiency. Fortunately, enabling CPPC Preferred Cores allows your OS and CPU to communicate more effectively in identifying the strongest core to prioritize for single-threaded tasks. This results in improved performance for CPU-bound games and reduced overall latency.
To enable CPPC Preferred Cores, enter BIOS and, from there, go to Advanced. Now, you have to look for the CPU configuration, which may be labeled AMD CBS Route or AMD Overclocking Route. From there, you can enable CPPC preferred cores and see a notable increase in CPU performance.
CPPC is exclusive to the AMD platform. For X3D processors, enabling this setting will make the biggest difference. Since these CPUs combine normal and X3D chiplets, enabling CPPC-preferred cores will direct gaming threads to the X3D chiplet on a multicore CPU, where the 3D V-cache delivers the biggest performance gain.
MCR can cut your boot time by half
Your PC re-trains memory at every cold boot, even if it doesn't have to

Now, this setting isn't traditionally a performance booster in tasks per se, but it does make your system more efficient, so it deserves a place on this list. We all hate the long start-up time it takes for Windows 11 to boot, despite the blazing-fast SSDs these days. In reality, the boot doesn't only load the OS, but it also does a task called "memory training", where the memory controller from your CPU establishes a safe and optimal electrical setting with your RAM. Memory training always runs when you boot your PC, and unless you've changed your RAM speeds or hardware, it's redundant. On DDR5 systems, this routine takes longer since high-speed memory increases training complexity.
MCR (Memory Context Restore) loads the previously saved memory configuration, reducing the time it would normally take for the memory training routine. The result is a near-instantaneous boot, considering your SSD is fast, of course. To enable MCR, follow these steps after entering the BIOS:
- Go to Advanced.
- Go to AMD overclocking, or, depending on your motherboard, the setting may use a different naming convention, which I recommend looking up.
- Memory Context Restore will be listed there; turn it on.
Enabling MCR with XMP/EXPO is fine, though not recommended if you have undervolted or used a custom RAM profile, as MCR may cause random BSODs or boot failures.
Free up RAM by reducing iGPU memory allocation
Your system is reserving gigabytes of RAM for the iGPU you're not using

Regardless of whether you have a discrete video card, your system reserves a portion of your RAM as VRAM for your iGPU (the integrated graphics processor in your CPU) to display video output when you don't have a separate GPU. Now, this is true only for CPUs with iGPUs, so do check the specs to confirm.
This reserved memory can range from 32MB to 4GB, depending on the CPU and the amount of RAM you have. RAM is already pretty expensive, and considering how demanding Windows 11 can become, every megabyte matters.
To reduce the memory reservation for your iGPU, enter BIOS -> Advanced -> DVMT Pre-Allocated/UMA Frame Buffer Size, and from there, you'll have to reduce the memory allocation for iGPU all the way down to the smallest configuration possible, which is around 32MB.
To completely disable the iGPU and free up every megabyte, you'll see an option to disable it in Advanced in the BIOS, although in that case, you won't be able to boot your PC without a discrete GPU unless you revert the setting.
Users with RAM configurations of 16GB or less will notice a much greater impact when disabling memory reservation for the iGPU.
Don't leave performance on the table
I see a lot of PC owners skim through BIOS settings, thinking it's too technical, and get intimidated easily, thinking they'll mess up their systems. However, you won't get the most out of your PC unless you guide it to do so. There are more hidden BIOS settings that improve performance, but I've listed the five most important ones I think every PC owner should enable — ones that don't require much meddling with your BIOS.