


When Microsoft swapped Word's old menus for the ribbon back in 2007, a handful of genuinely useful tools went "missing". They didn't disappear from Word entirely; Microsoft just stopped putting them on the ribbon by default. You can still find them under the hood in the Customize Ribbon and Quick Access Toolbar menus.
Usually you can miss a lot of Microsoft Word's productivity potential unless you go looking for these features. I found five commands that are worth digging up. You can place your own missing commands in the Quick Access toolbar.
Word can read your document out loud
Turn on Speak and give your eyes a break

Word has a built-in text-to-speech tool called Speak. Highlight any text and click the button, and Word reads it back in a robotic but clear voice. It's a fast way to catch typos and awkward phrasing your eyes skim right past when you're proofreading your own writing for the tenth time.
It won't replace a real audiobook narrator, and long sessions are jarring because of the robotic voice. Microsoft 365 includes both Speak (the legacy tool) and Read Aloud (found on the Review tab with modern voices). I prefer Speak for rapid proofreading of a Word document because it activates instantly on selected text without launching a floating playback control bar that takes up screen real estate.
Our ears catch different mistakes than our eyes. Maybe it's just me, but the flat robotic voice doesn't smooth over a clunky sentence the way a more polished AI voice (or even the voice in my head). That helps to go and check the running-on sentences again.
Combine Speak with paragraph selection shortcuts (Ctrl + Shift + Down Arrow) to rapidly check a document by paragraphs.
Clean up messy documents in one click
AutoFormat fixes formatting errors fast


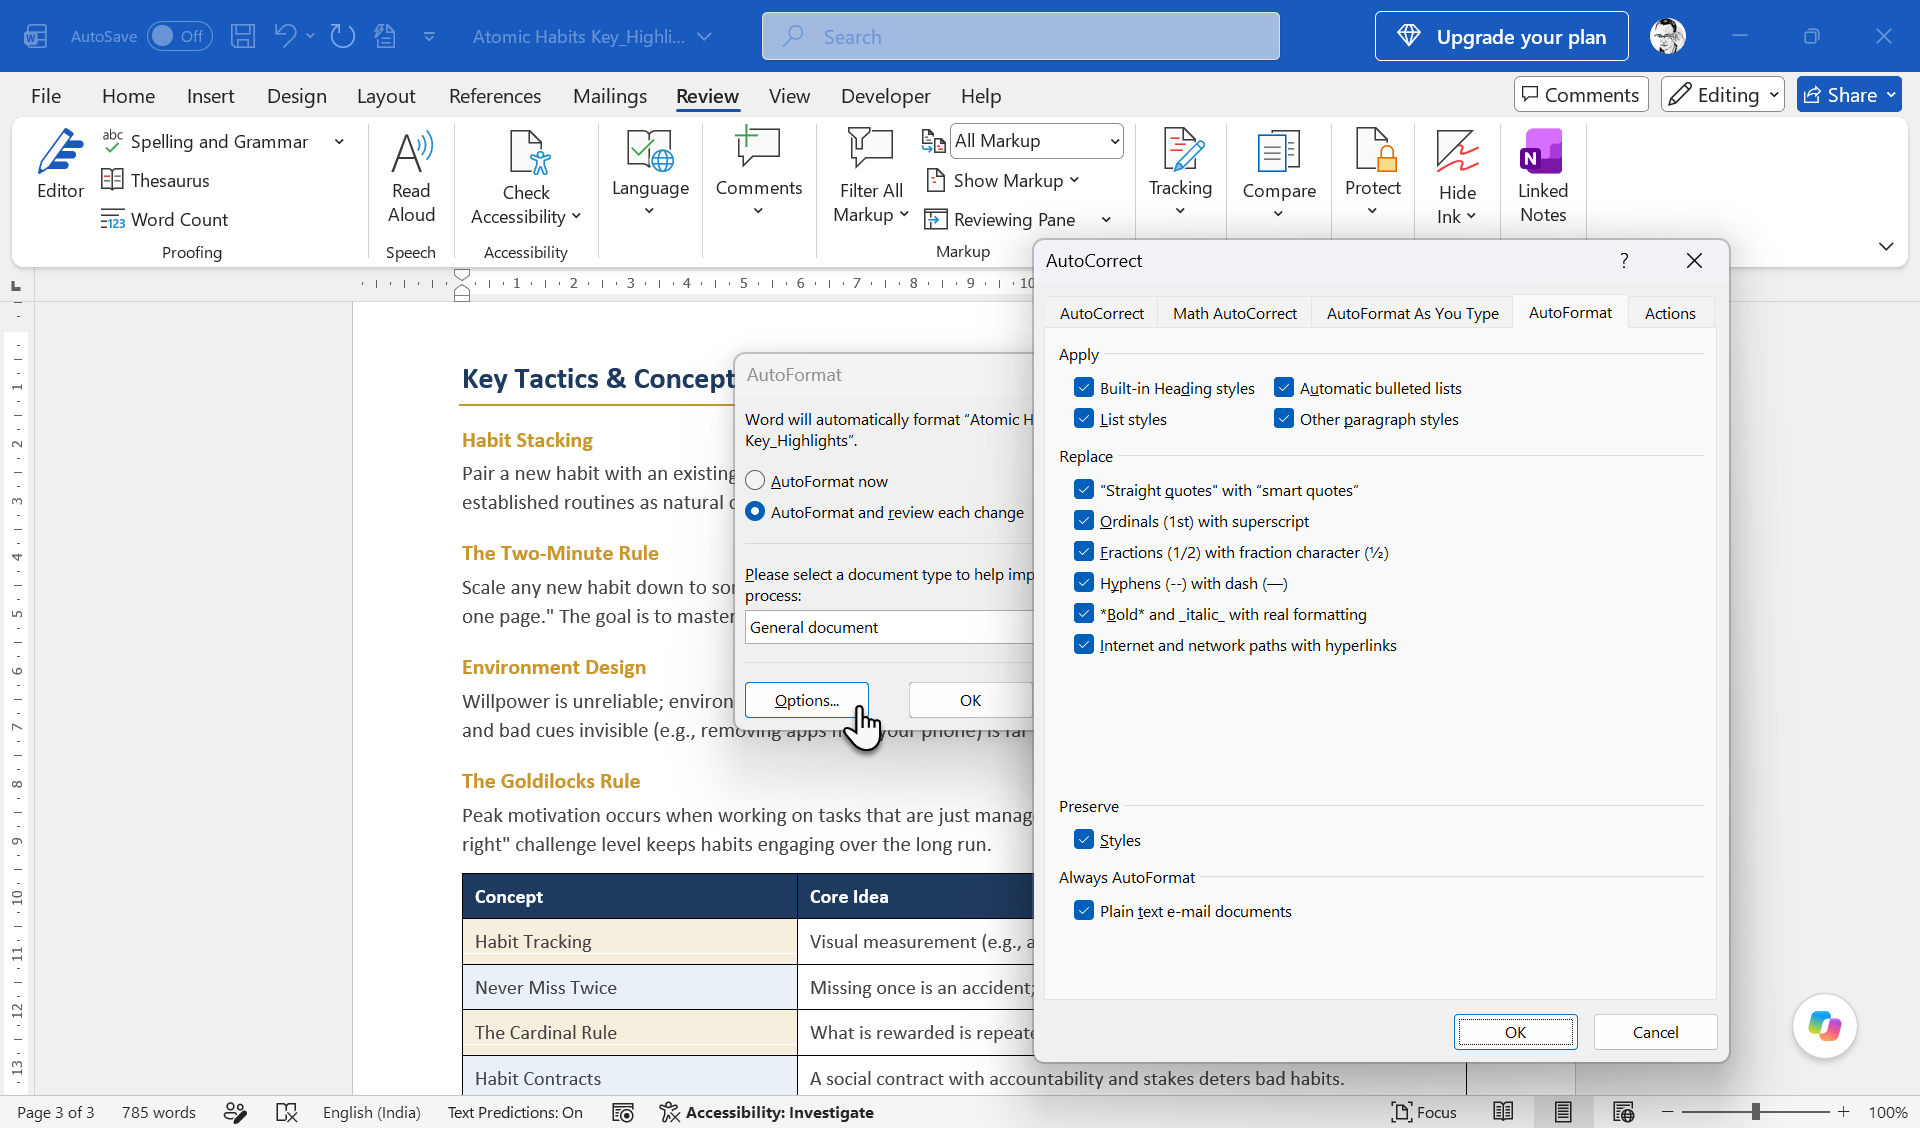
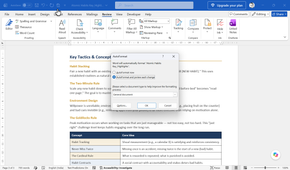
AutoFormat scans your whole document and fixes common issues. For instance, turning straight quotes into curly ones, converting double hyphens into dashes, and catching lists that should be bulleted but aren't. It's a fast fix for a document. Especially, if you have copy pasted content into Word from somewhere else.
AutoFormat on the Quick Access Toolbar (QAT) is different from AutoFormat As You Type (the background setting). The former can apply formatting to an existing document or selected text, while the latter handles automatic changes as you type.
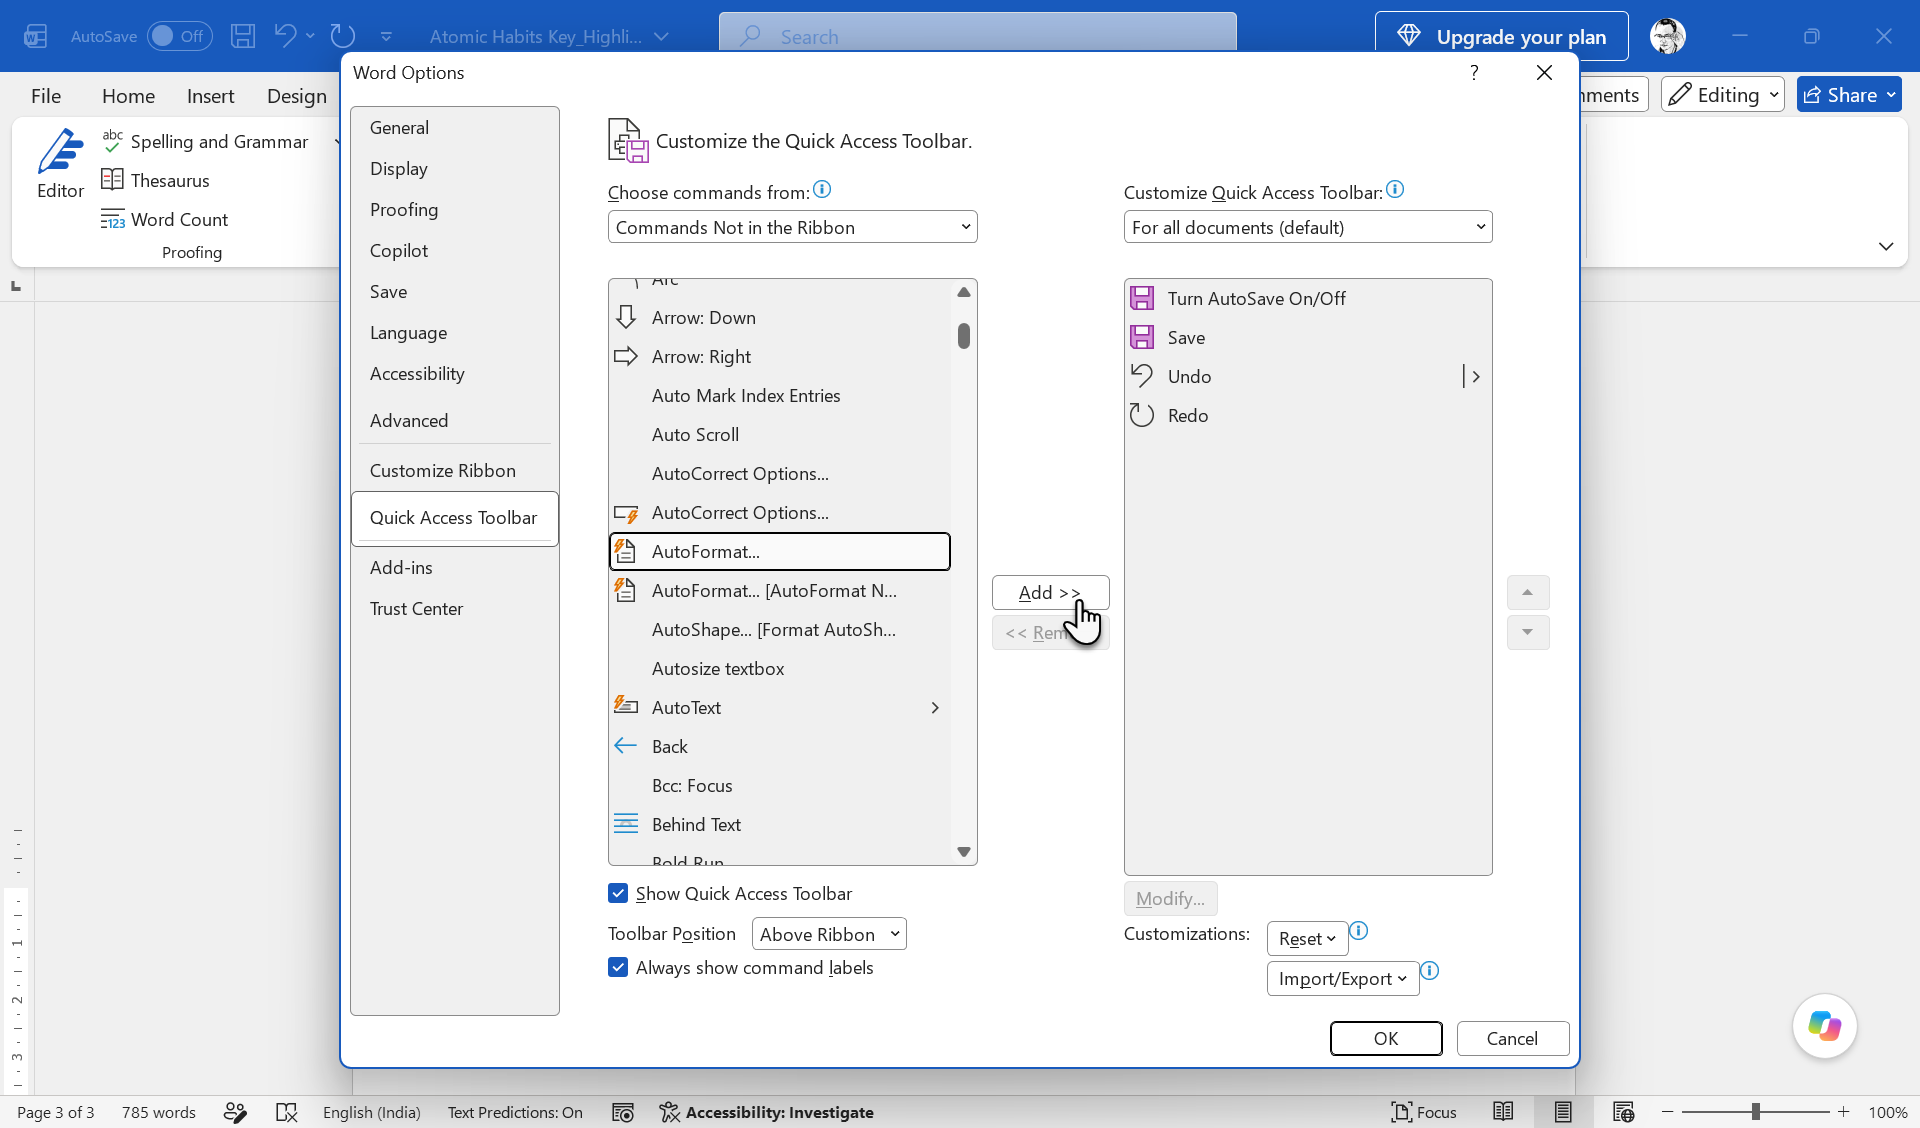
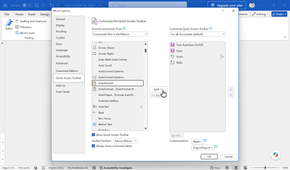
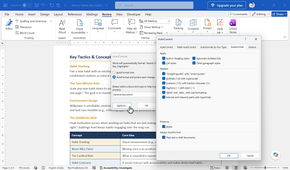
I don't use it willy-nilly on a document. But when I've pasted text from different sources and ended up with formatting oddities, AutoFormat can be a useful first cleanup pass. Before running it, check File > Options > Proofing > AutoCorrect Options > AutoFormat and disable anything you don't want Word to change. You can then add the AutoFormat command through the customization options.
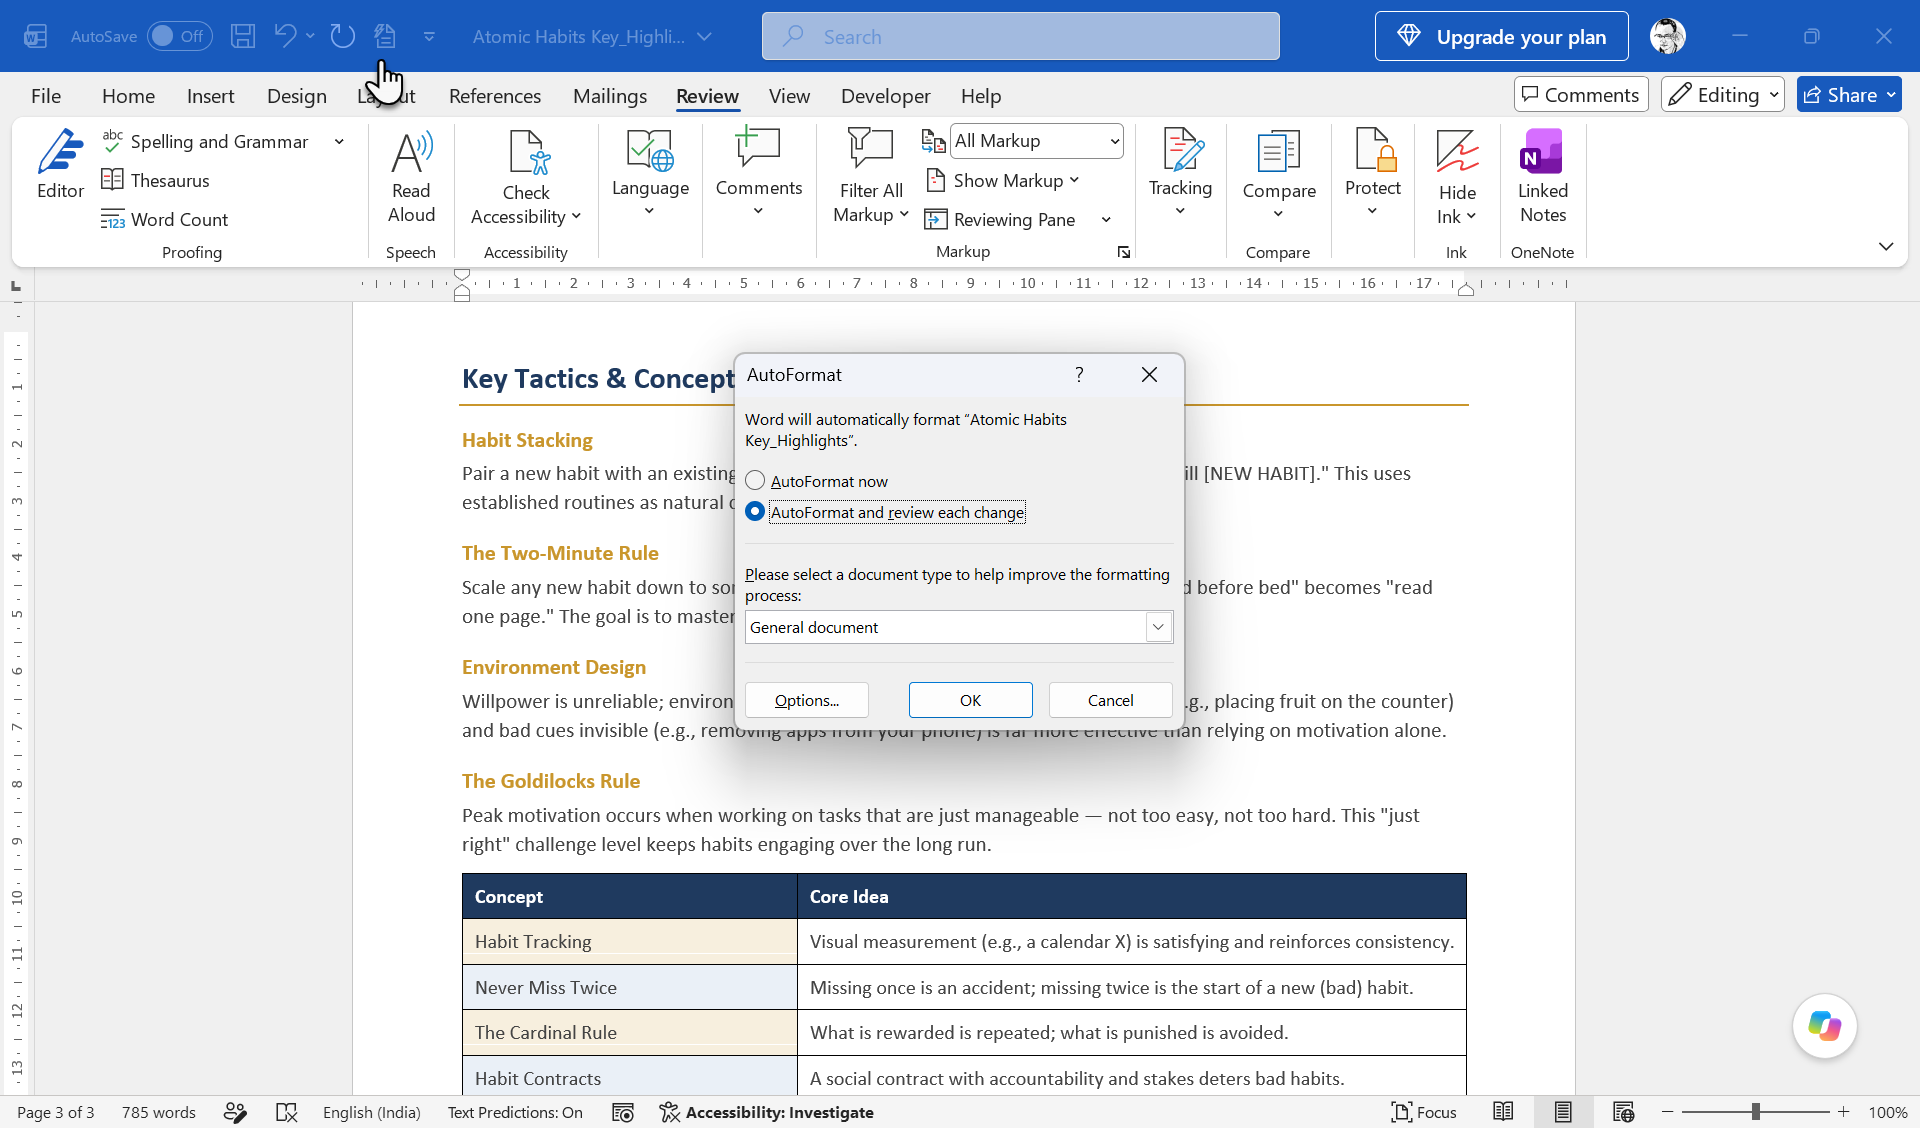
Instead of using AutoFormat Now (which makes global edits), add the AutoFormat... command (with the ellipsis). This displays a dialog giving you two choices: Format now and review changes or Format all at once. The former is usually better.
See exactly how your page will print
Bring back the full-screen print preview

Microsoft Word's Print pane crams your preview into a small box on the right side of the screen. It doesn't give you any editing capabilities. The old Print Preview Edit Mode gives you a full-screen, zoomable view of the actual page, and you can even edit text right there before you commit anything to paper. Just uncheck the Magnifier inside the Preview tab, and turn the caret into an editing cursor.
For perfect control over printing, I really like the Shrink One Page (Shrink to Fit) button. If a document awkward-spills 2–3 lines onto an extra final page, it will automatically recalculate font sizes and line spacing to pull those few lines onto the previous page. Save your document before using this command.
When I have a document with tight margins, tables, or images sitting near a page break, seeing the whole page at real size helps me catch the layout problems. The backstage print pane hides those problems until the page comes out of the printer.
Skip the print menu entirely
Quick Print sends files straight to the printer

Quick Print does exactly what it says. One click sends your document straight to your default printer without the bottlenecks of the dialog box and settings screen. For documents you print the same way every single time, it saves you several clicks.
The habit can be a problem too. With no confirmation screen to catch a wrong printer, mistakes can happen. If Windows is set to "Let Windows manage my default printer," a job meant for an office laser printer might accidentally route to a home photo inkjet or a "Print to PDF" file.
So, keep Quick Print around for no-fuss print jobs (e.g. single-page invoices, standardized templates). Stick to the full Print pane whenever you need to double-check paper size, printer, or page range first.
Figure out why your formatting looks off
Reveal Formatting shows what's really going on

Press Shift + F1 and Word opens a pane that lists every formatting detail applied to whatever you've selected: font, size, spacing, alignment etc. It's built for tracking down why a paragraph you pasted in looks subtly different from the rest of your document, right down to the exact setting causing it.
The information is dense and more suited for patient power users working on a long document (your end-of-year college assignment in Microsoft Word qualifies!). So don't expect to skim it like a menu. I use it only when something looks wrong and it stumps me.
This is the most underrated troubleshooting feature in Word. For instance, check the Compare to another selection box in the task pane, then select a second piece of text. The pane will display only the formatting discrepancies between the two selections (e.g., Font: 11 pt vs 11.5 pt).
Try rebuilding your toolbar
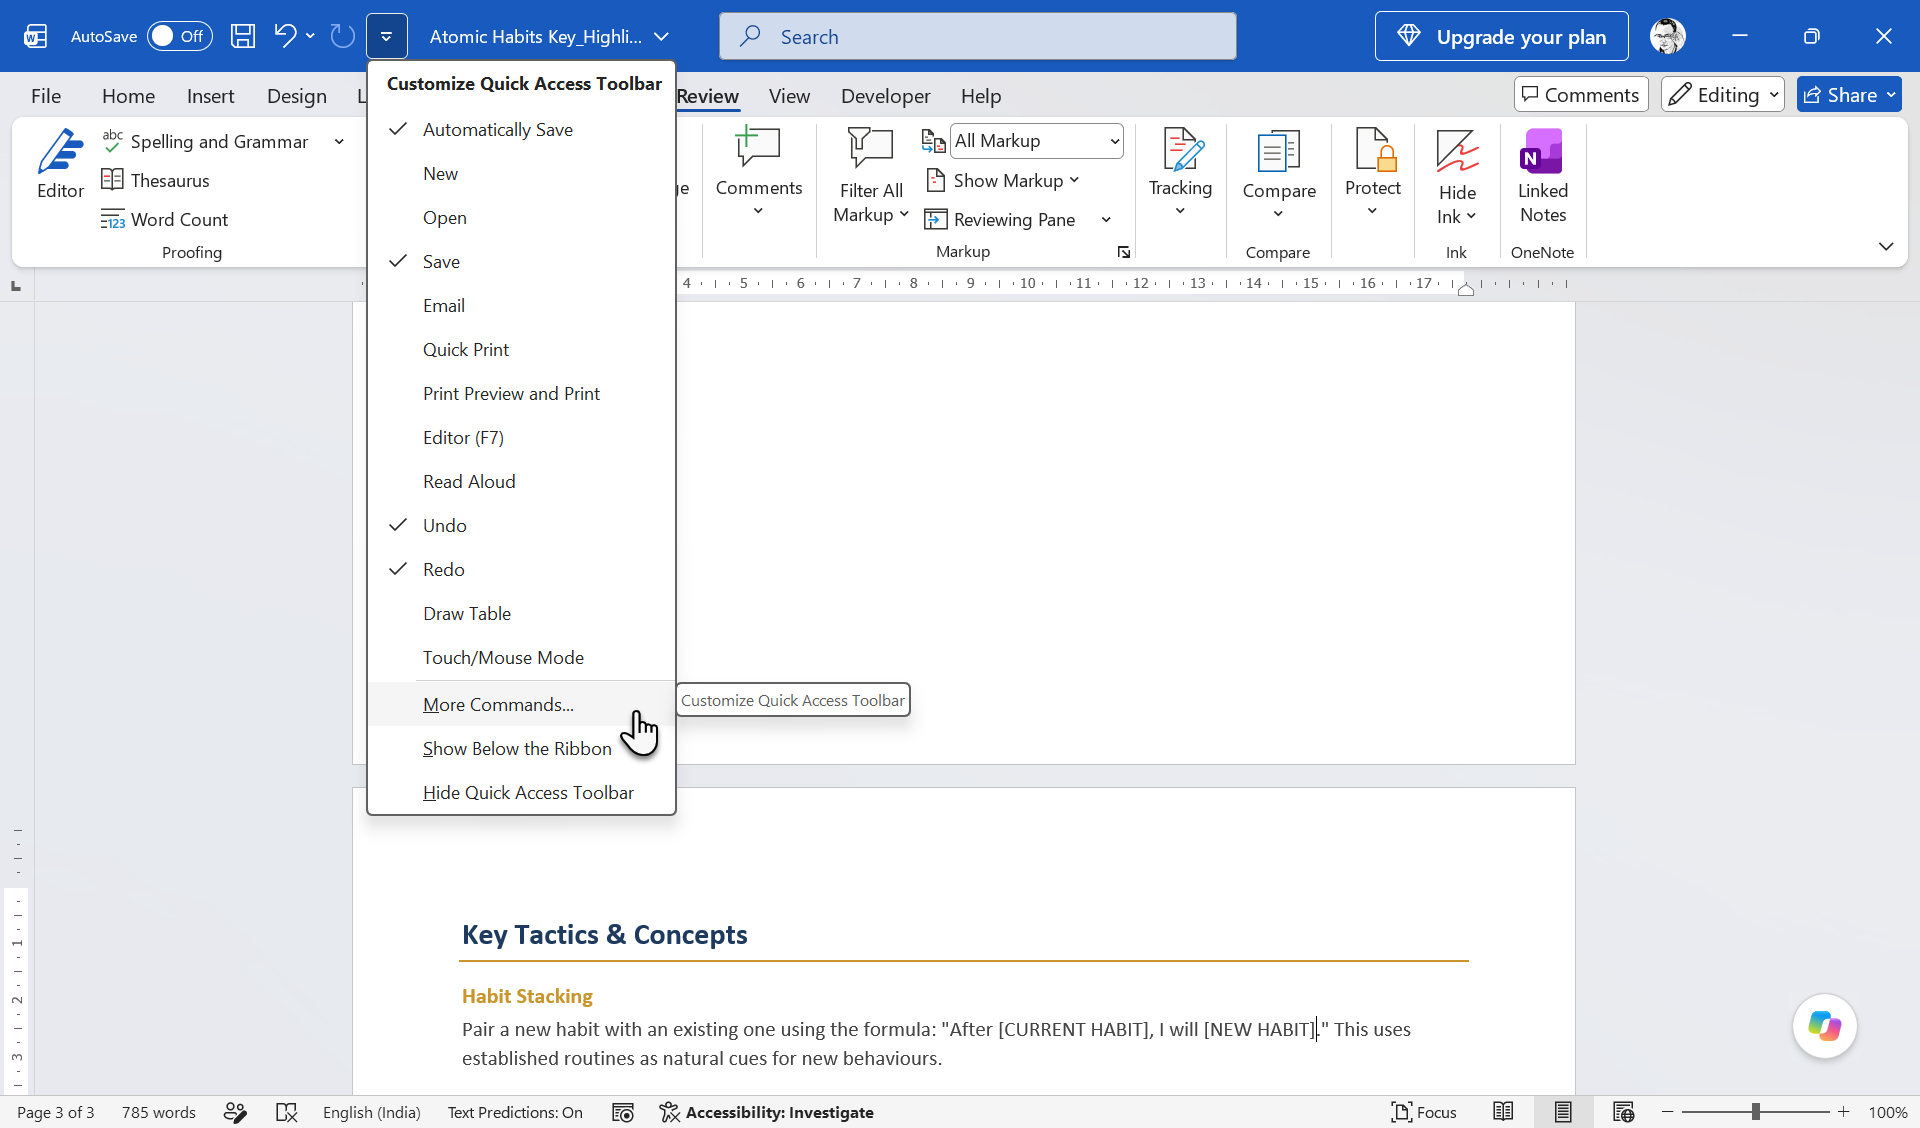
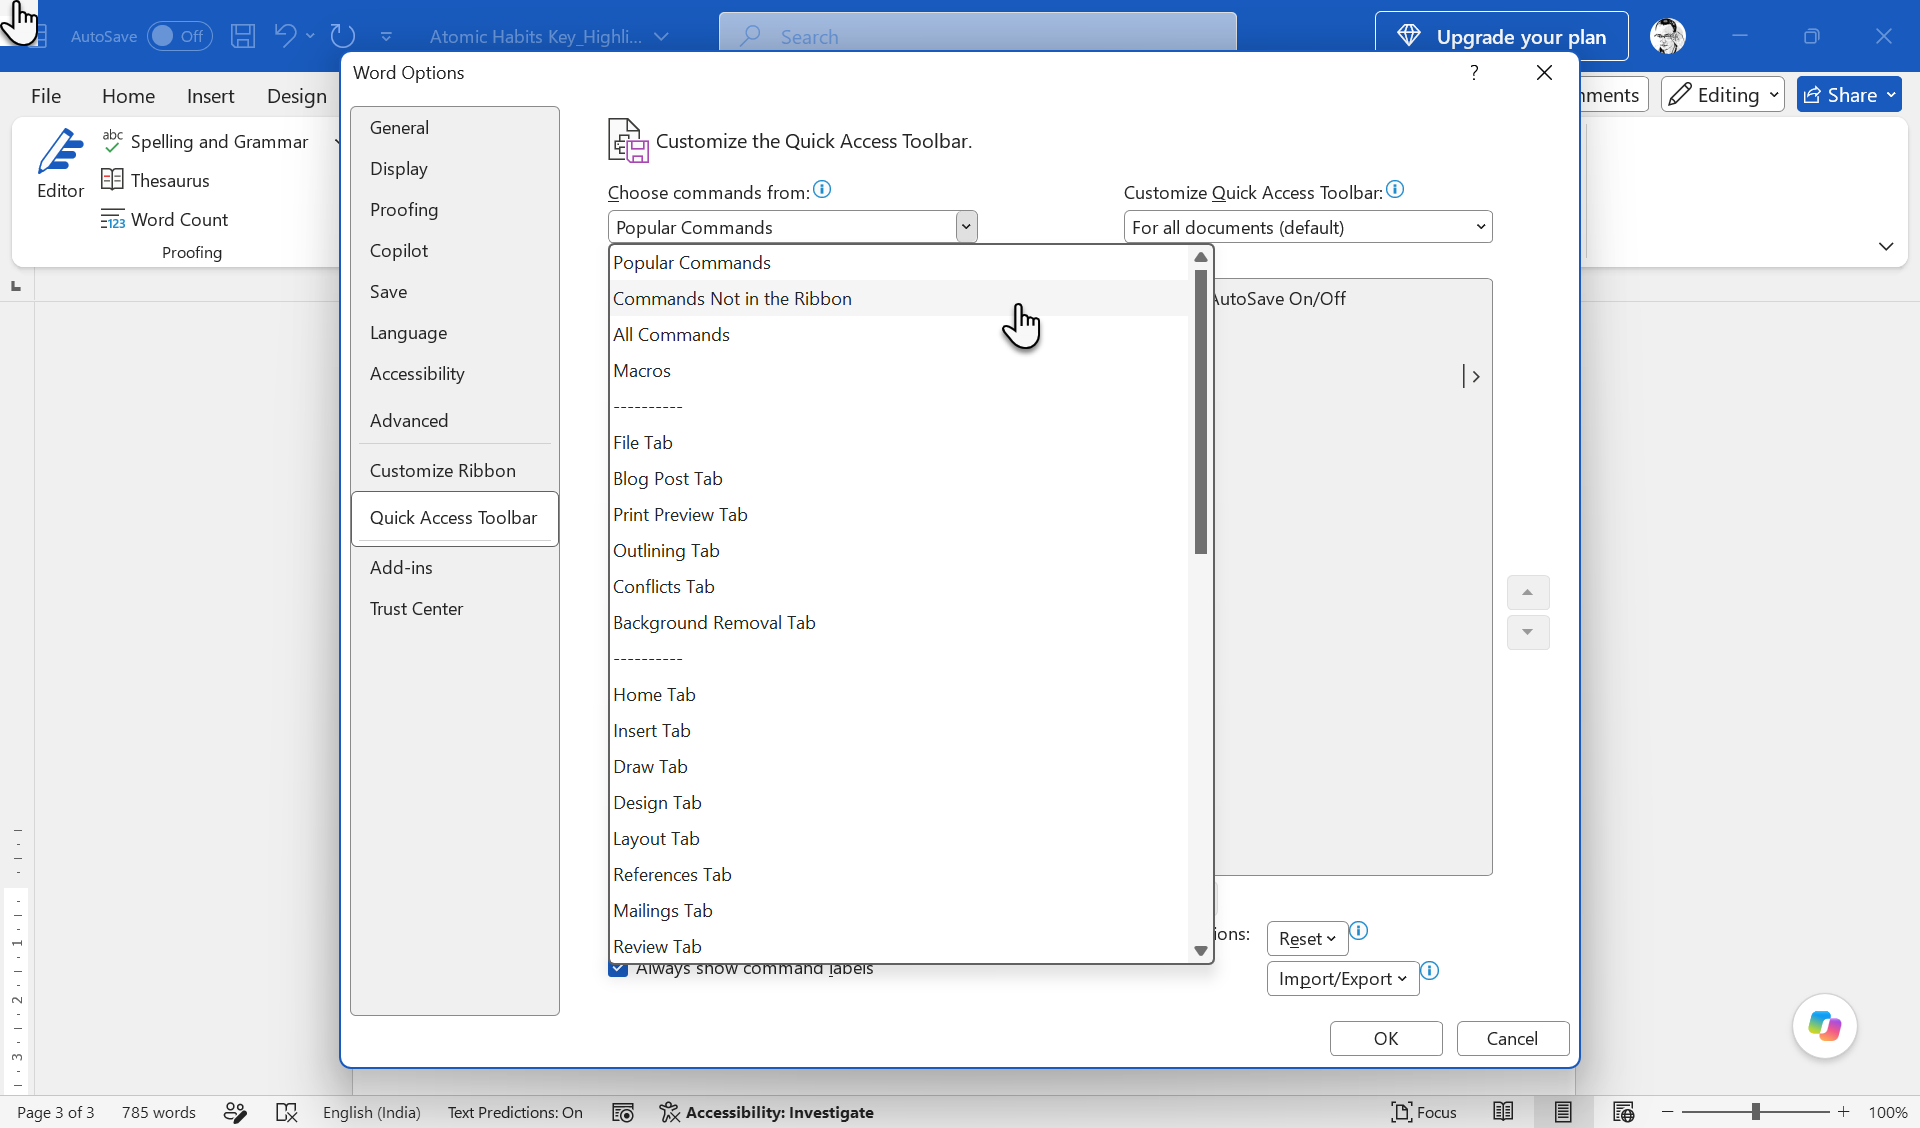
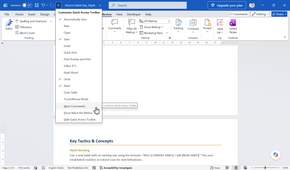
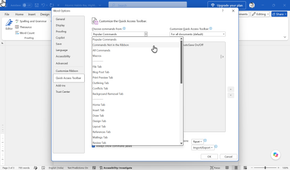
Pick the one tool here that solves a problem you frequently have. Right-click the Quick Access Toolbar, and choose Customize Quick Access Toolbar. Under "Choose commands from," select "Commands Not in the Ribbon," find your pick, and add it. Close the dialog, and the feature is just a click away. The utility will make you go back to customizing the Ribbon with a few more of the hidden commands Microsoft has tucked away.